
Hello hello. I promised Seattle posts and have I delivered? Ehhh… not yet. But they’ll come eventually. I’ve been in a bit of a rut, largely in part because of how uncomfortable I’ve felt in my surroundings lately, as well as with some of my failing electronics.
Long story short: I purchased some new organising items (some of which my hubby helped to put up around the house), moved furniture around in my office and purchased a new USB-C hub for my MacBook Pro. I am thrilled with how the updates we’ve made to the house and my new hub is working exactly as intended. I can’t wait to get some of the stuff done that I’ve had planned for a while.
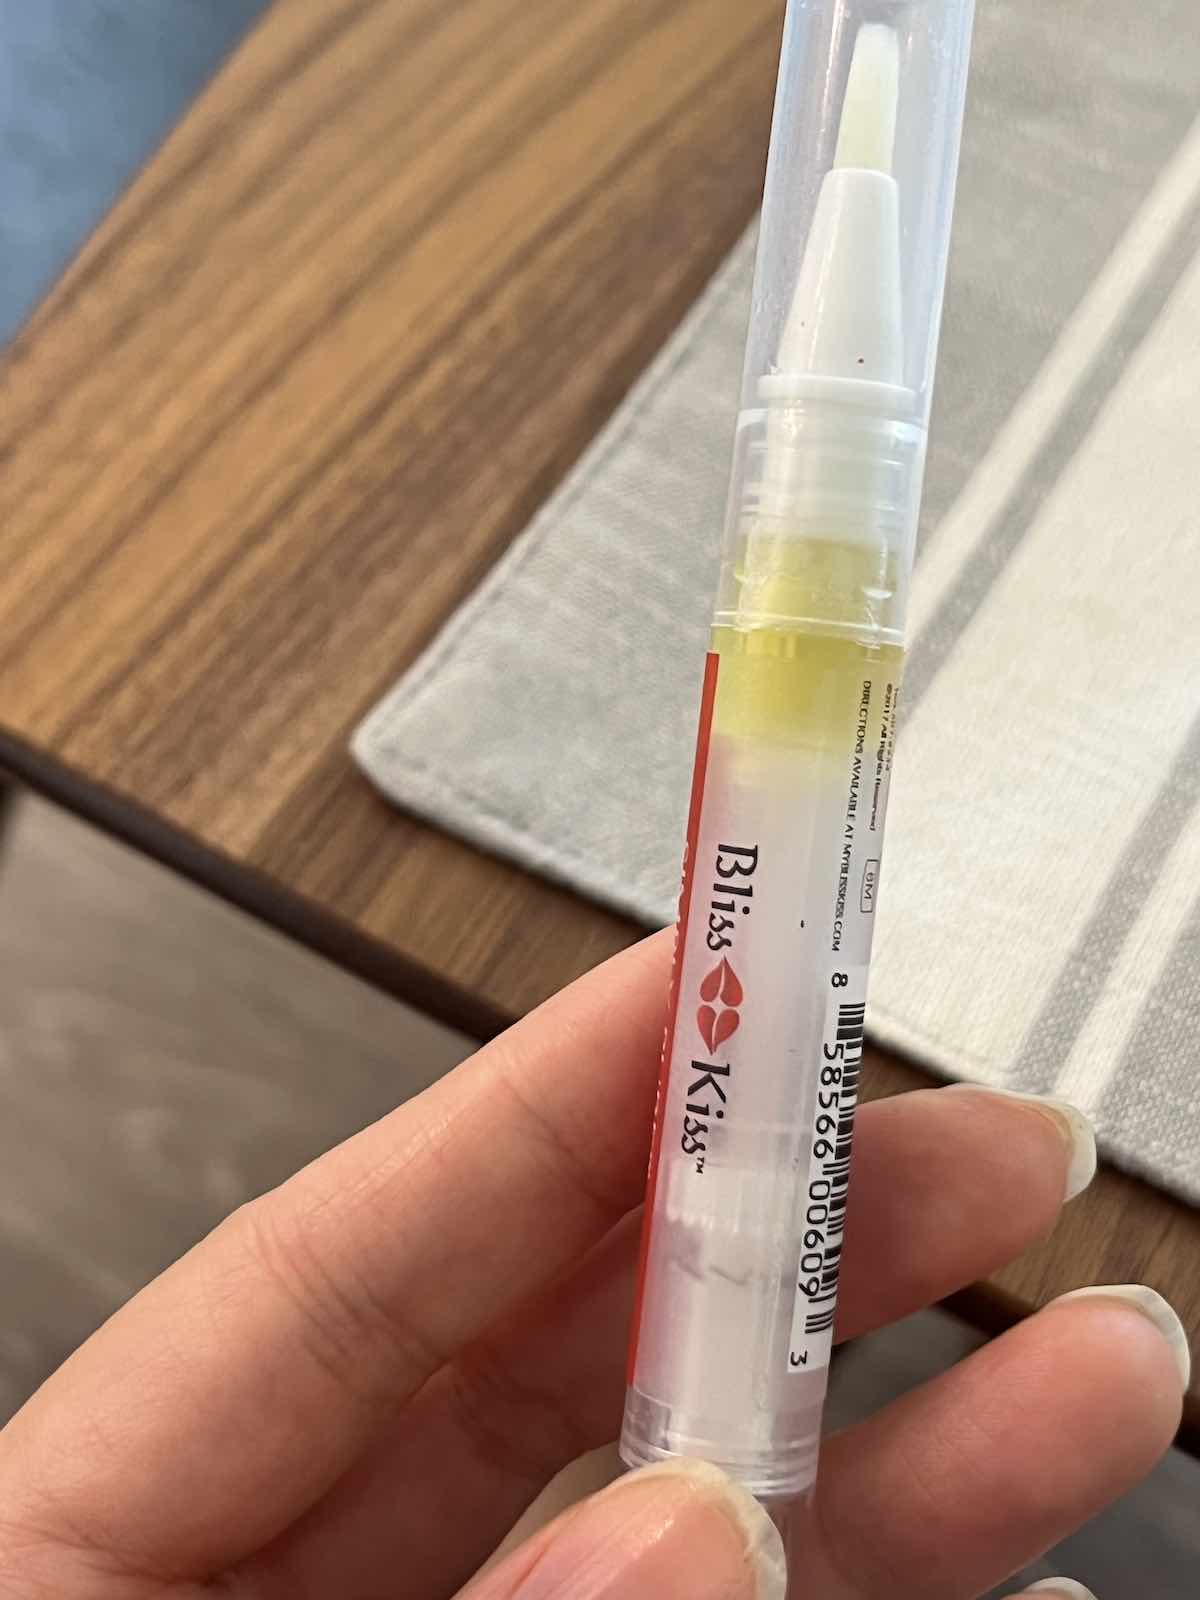
Let’s start with the review of a new nail oil I acquired: the Bliss Kiss Simply Pure Hydrating Oil with Vitamin E and Jojoba. (I started writing this post before my Dark Rainbow review but it’s taken longer to get out because I needed a solid few days to review it properly.)
Why
Oh boy what a nail journey! I know I mentioned that I tried Simply Nailogical’s nail oil idea and it totally worked initially, but I noticed that, after using nail polish for a while, my nails were starting to get very dry, brittle and flakey again.
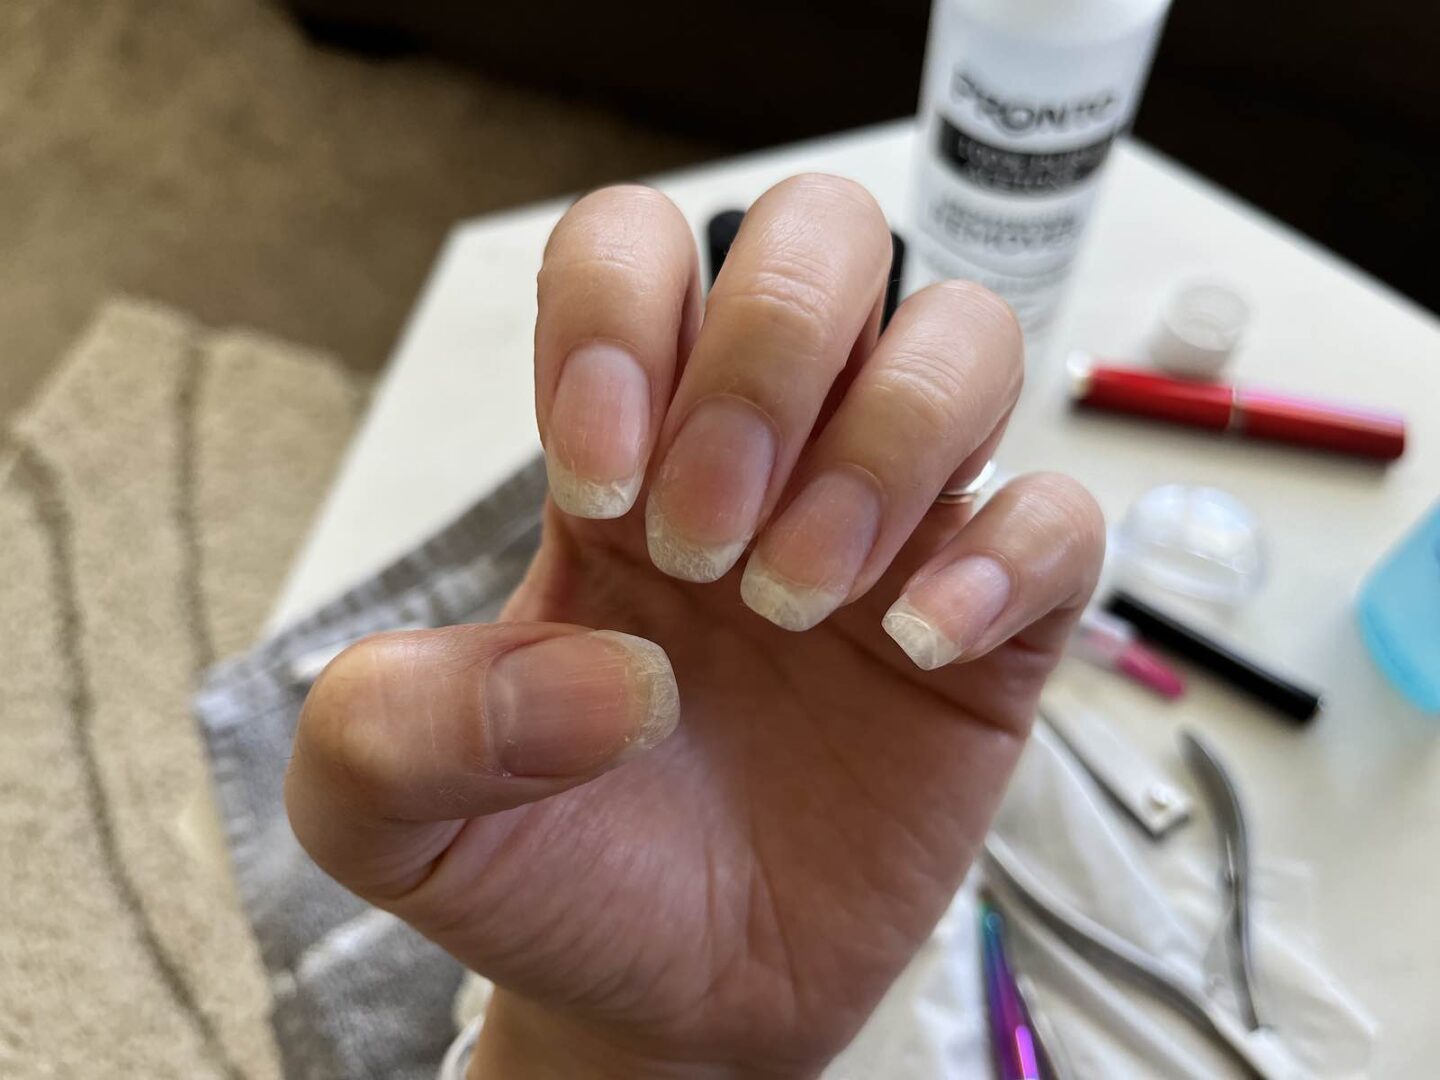
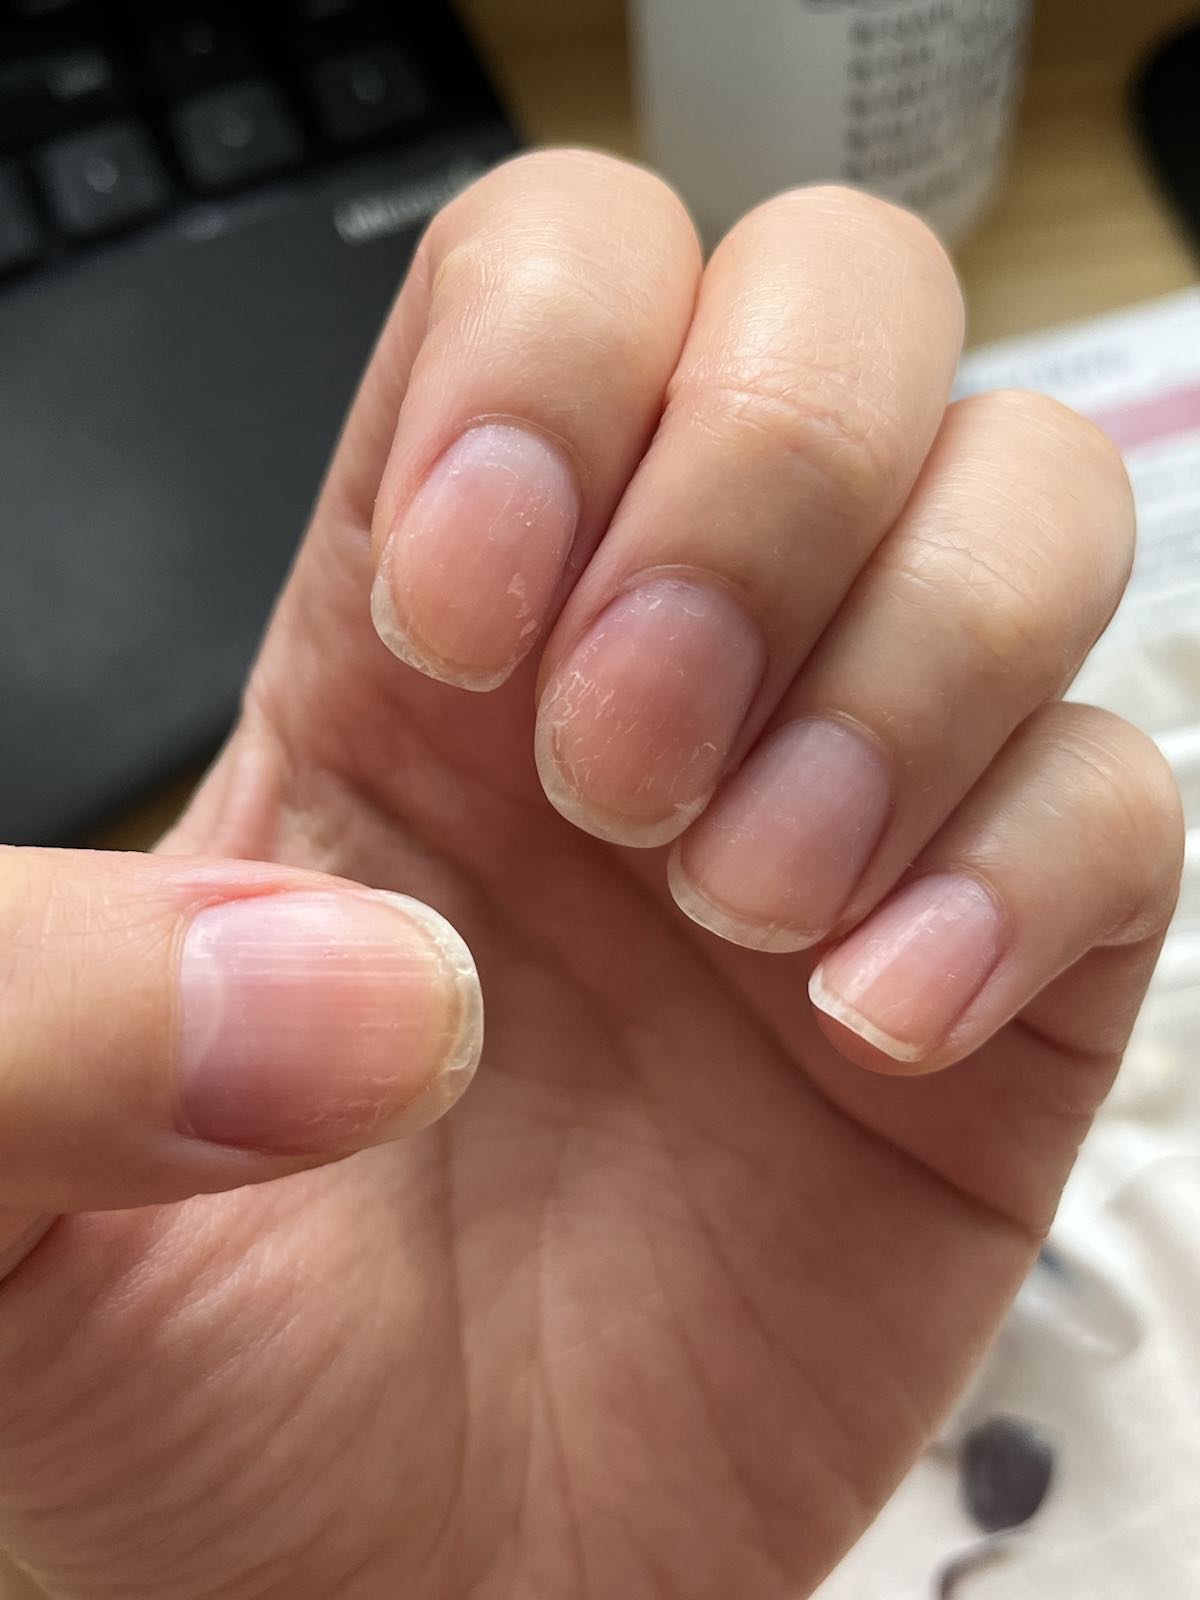
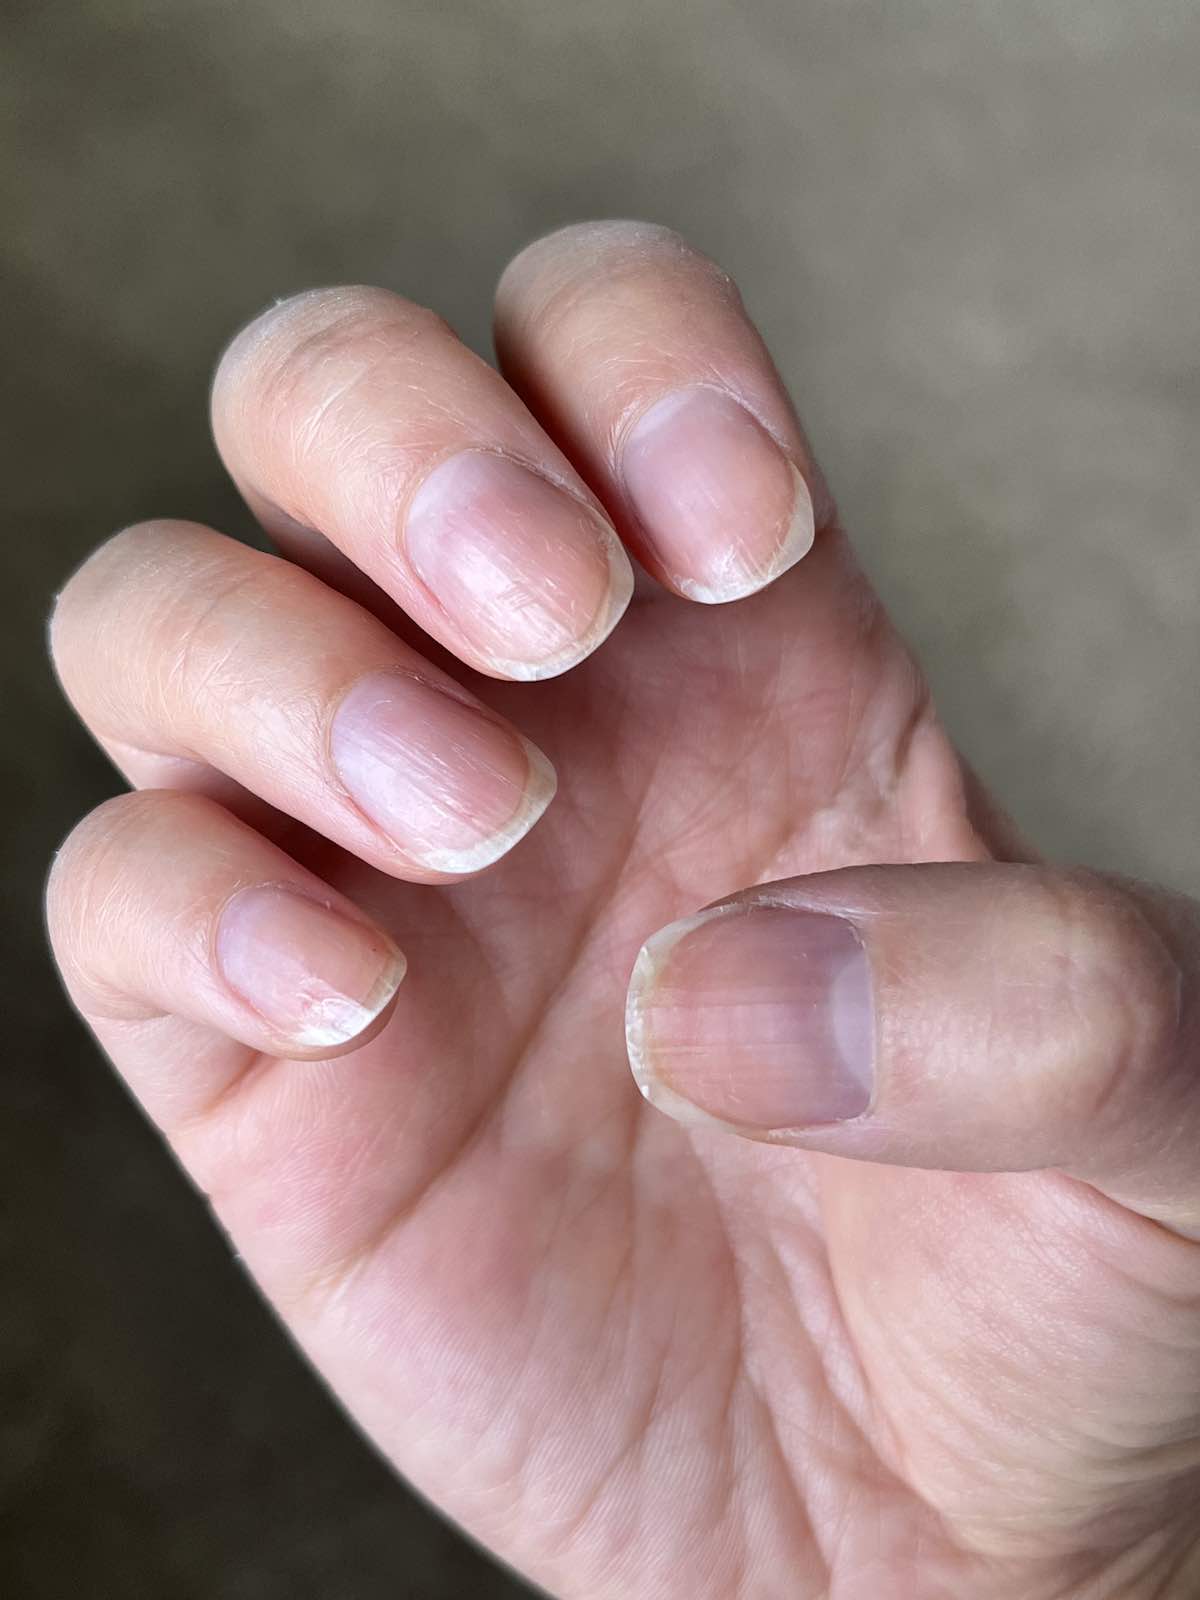
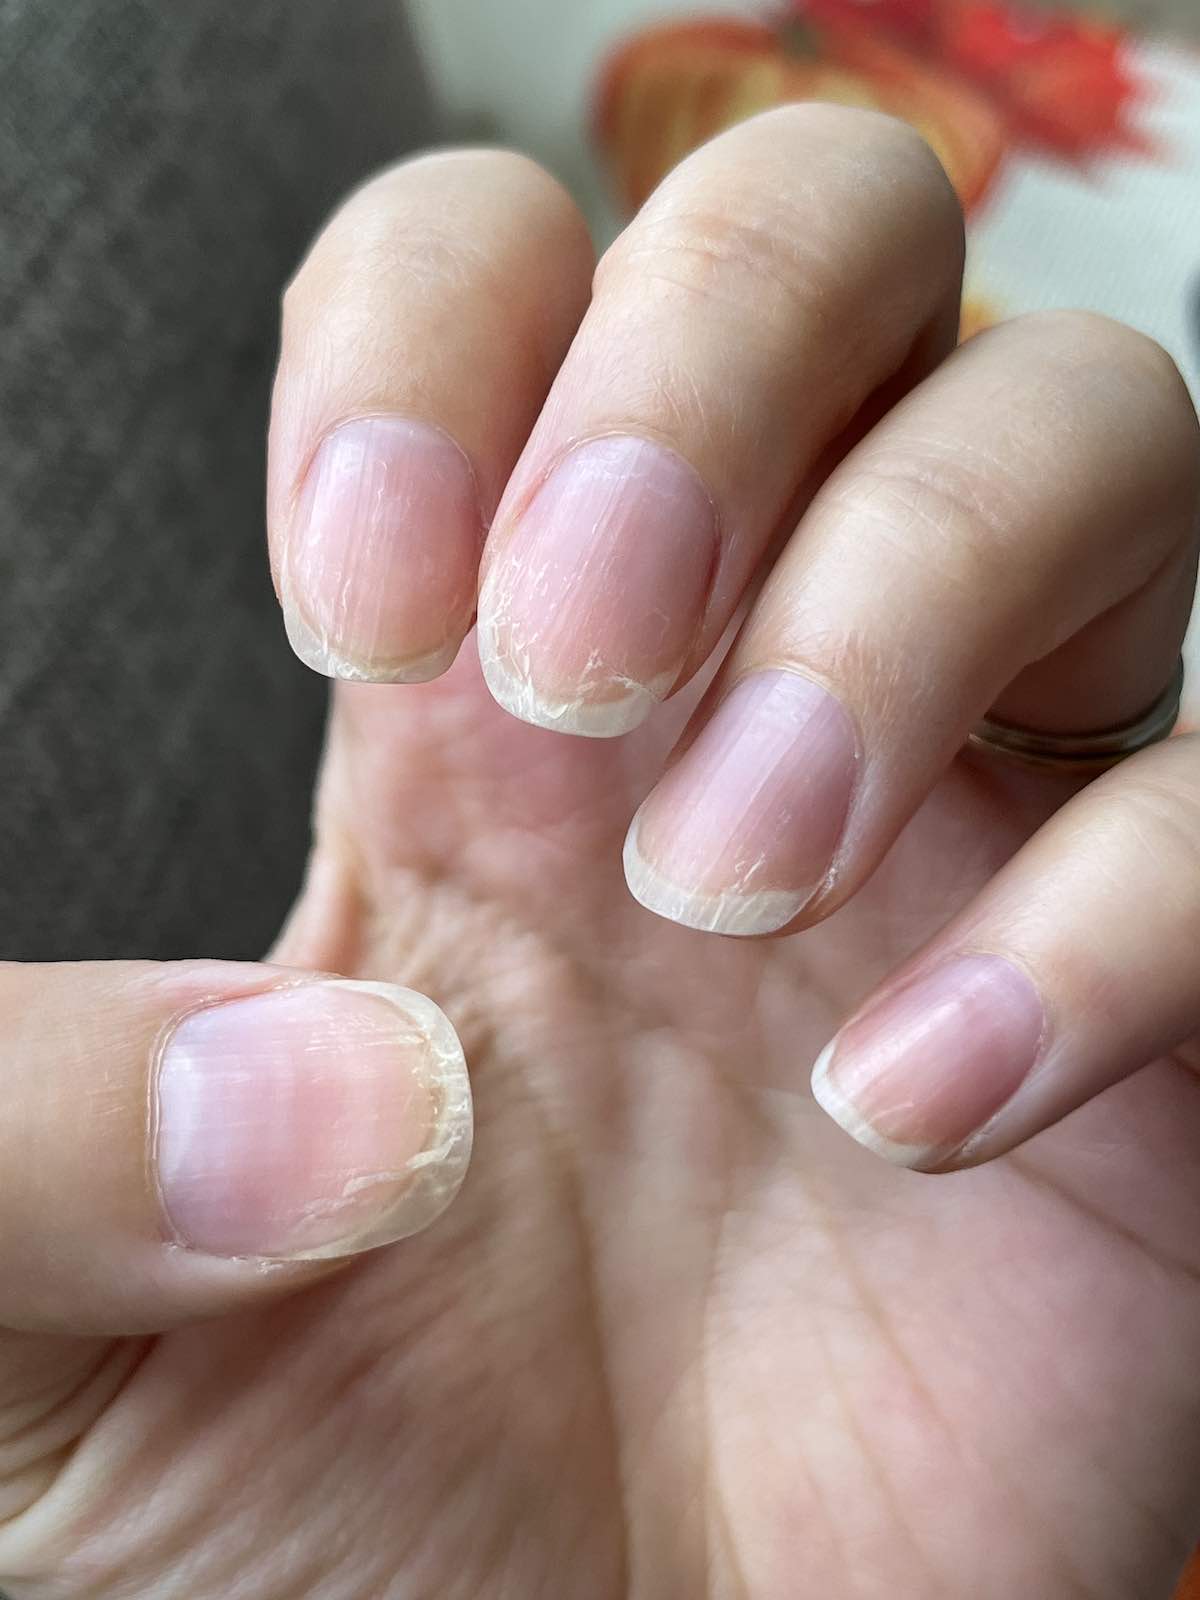
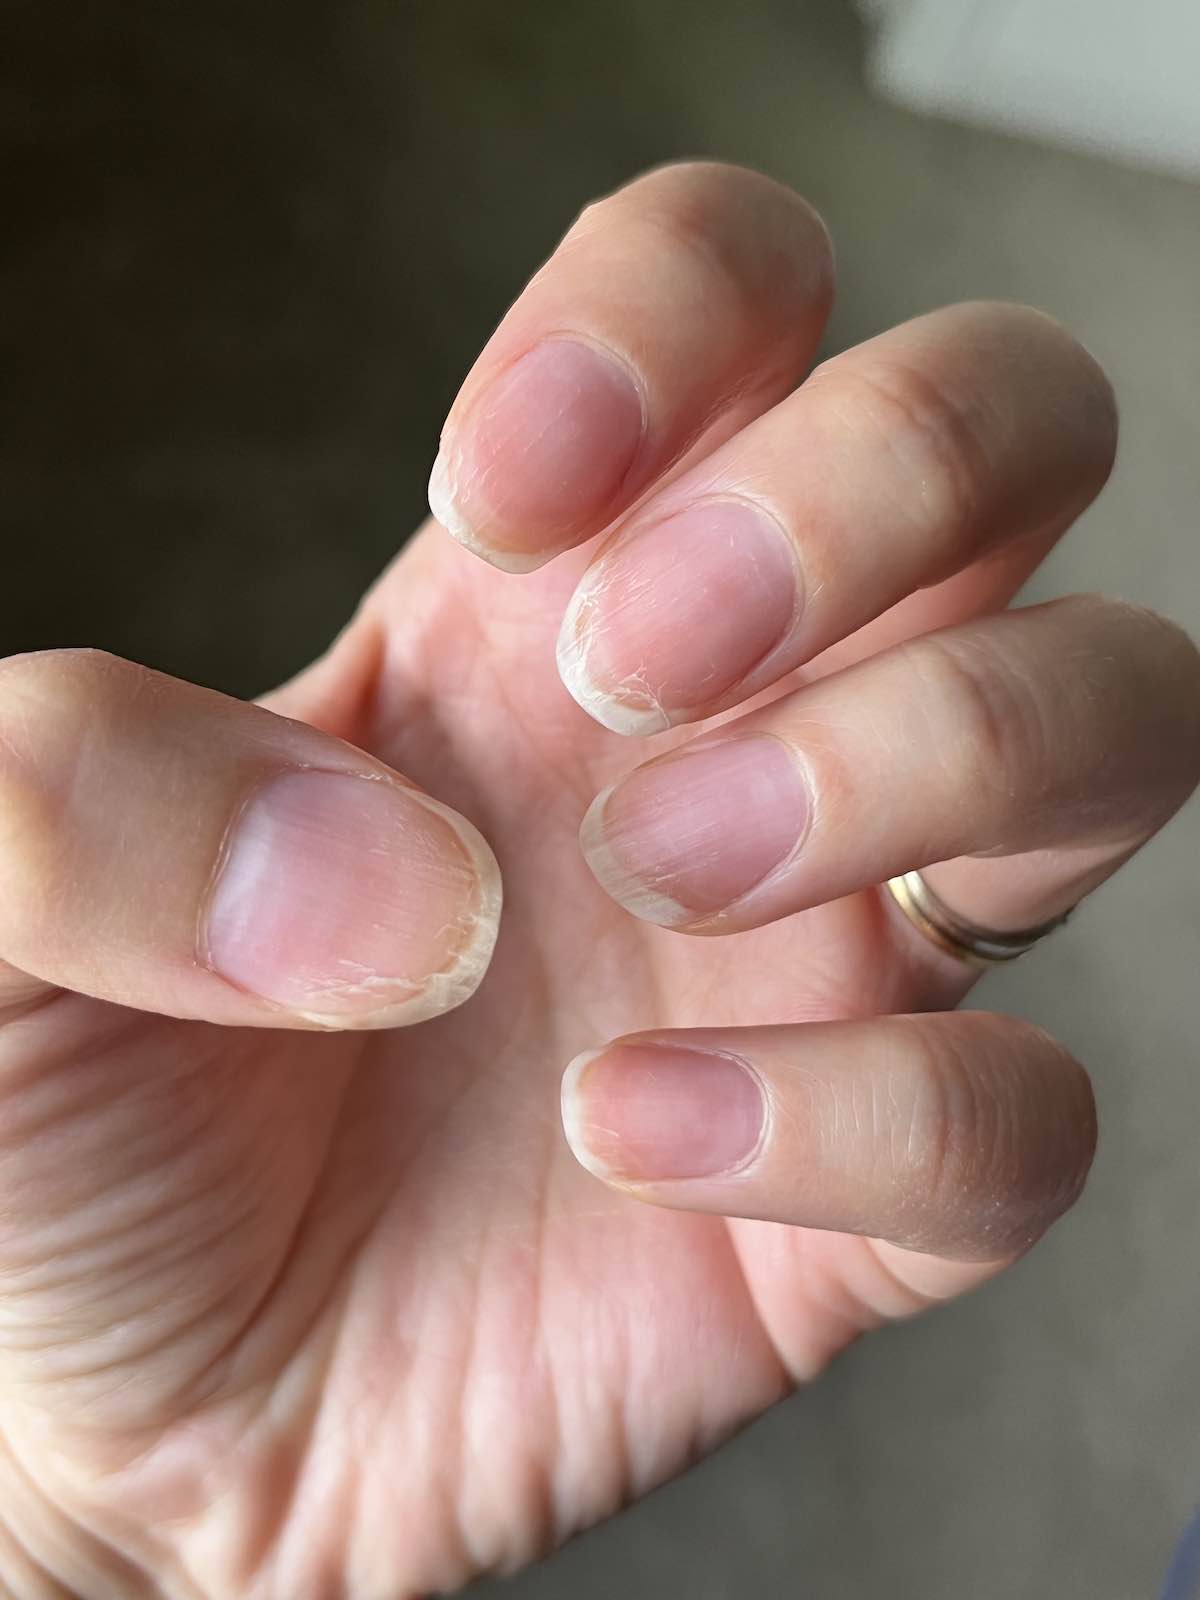
Above is what they looked like before I cut them. You can see some semi-circles and sections of peeling nail where the gel had been. I initially thought that once the area where I’d had gel on my nails had grown out, that I could trim my nails short and start over with my new, healthier natural nails.
Unfortunately, even after growing them out, my nails didn’t look much healthier. I’m guessing all that acetone did a number on my nails and I didn’t give my nails enough hydration before applying a new layer of nail polish. In fact, I think I intentionally dried out my nails further in order to have my polish stay on longer (per her recommendation in one of her other videos).
I’ve had polish stay on without chipping for 6-7 days (which is amazing) but my nails were getting really weak, and my cuticles were starting to look dry and parched again. When I took my polish off, it also looked like layers of my natural nail were being taken off along with it. I was getting cracks in my nail bed and they felt thin and brittle.
I somehow stumbled upon Bliss Kiss’ nail oil pen listing and was vaguely familiar with the brand, so was curious to take a look and check out the ingredients list. I got curious after seeing all the positive reviews and figured, why not give it a go?
I’ve already tried the homemade Jojoba Oil + Vitamin E Oil mix, so I feel like I’m going to be better informed for this review and may even be able to do a comparison too.
Initial Thoughts
The packaging is fairly basic: it included 4 pens and a couple of cards – one with some basic instructions and one that directed you to their website, which I like as a concept: it’s far better to only include a small business card with a QR code to a website that included how-to videos, than to print a full list of detailed instructions on paper that may go to waste.
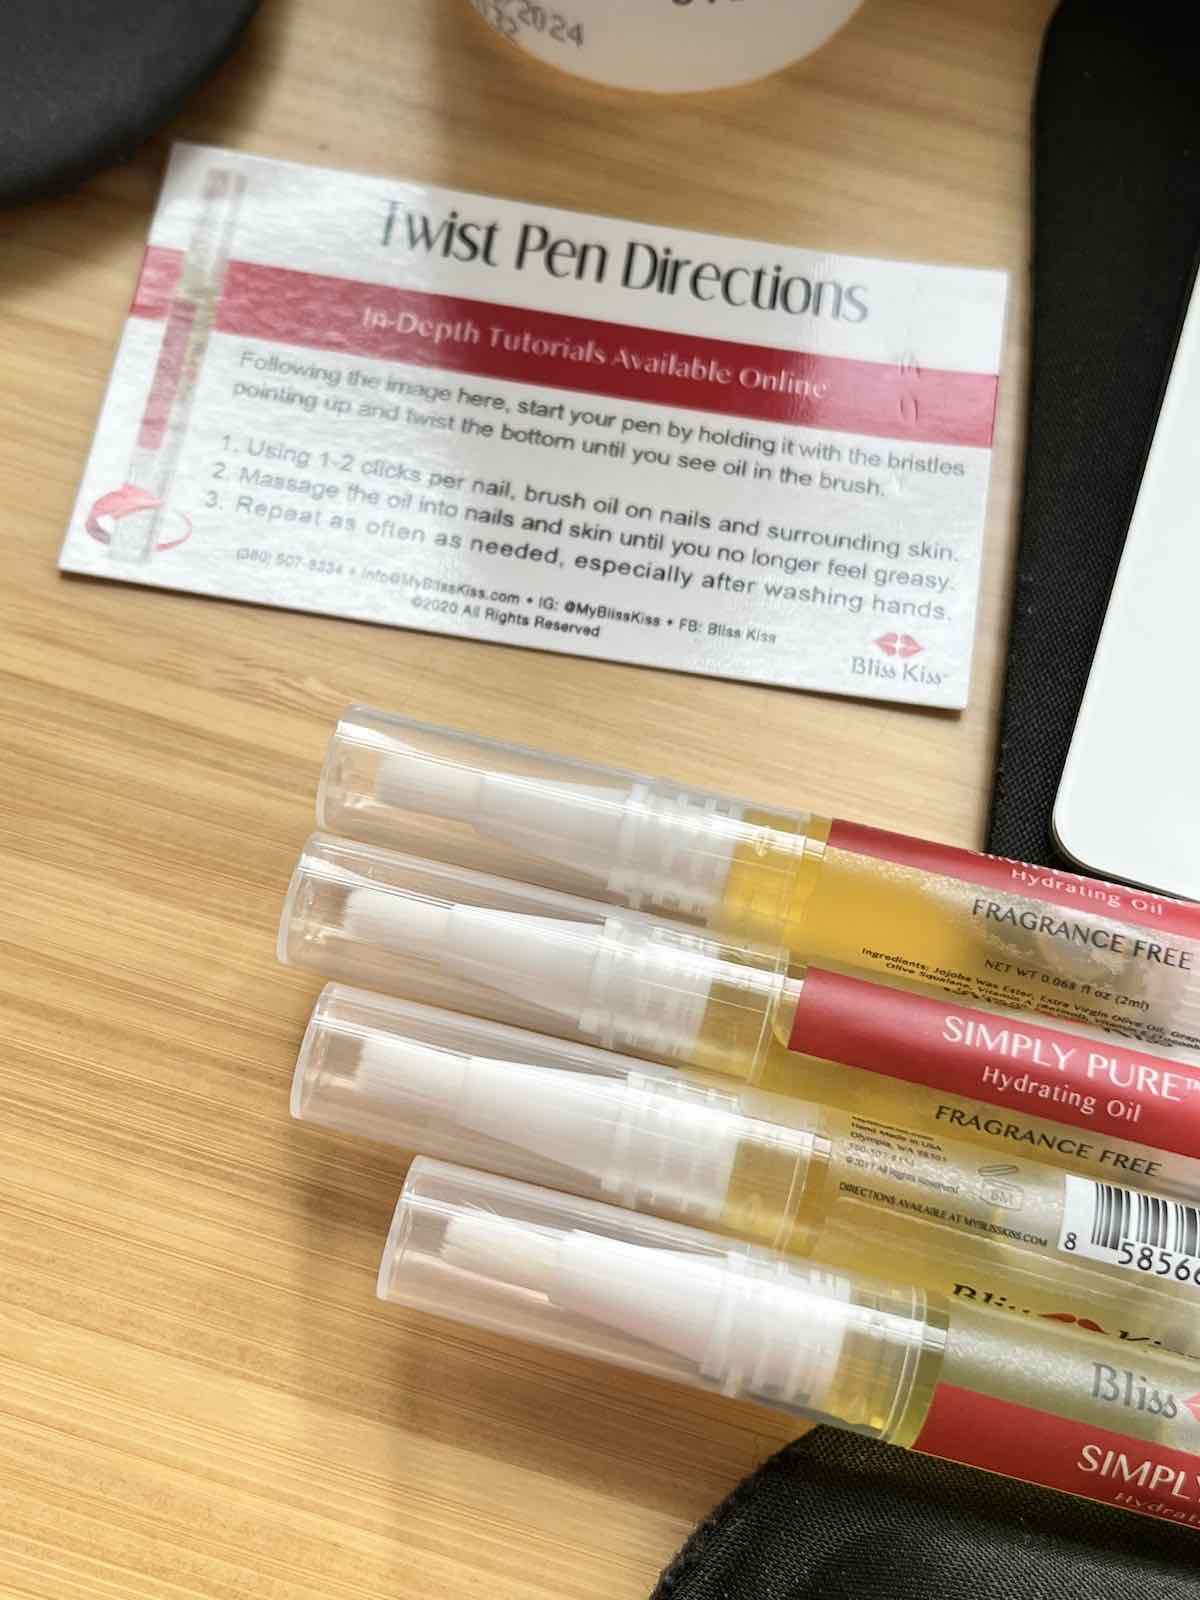
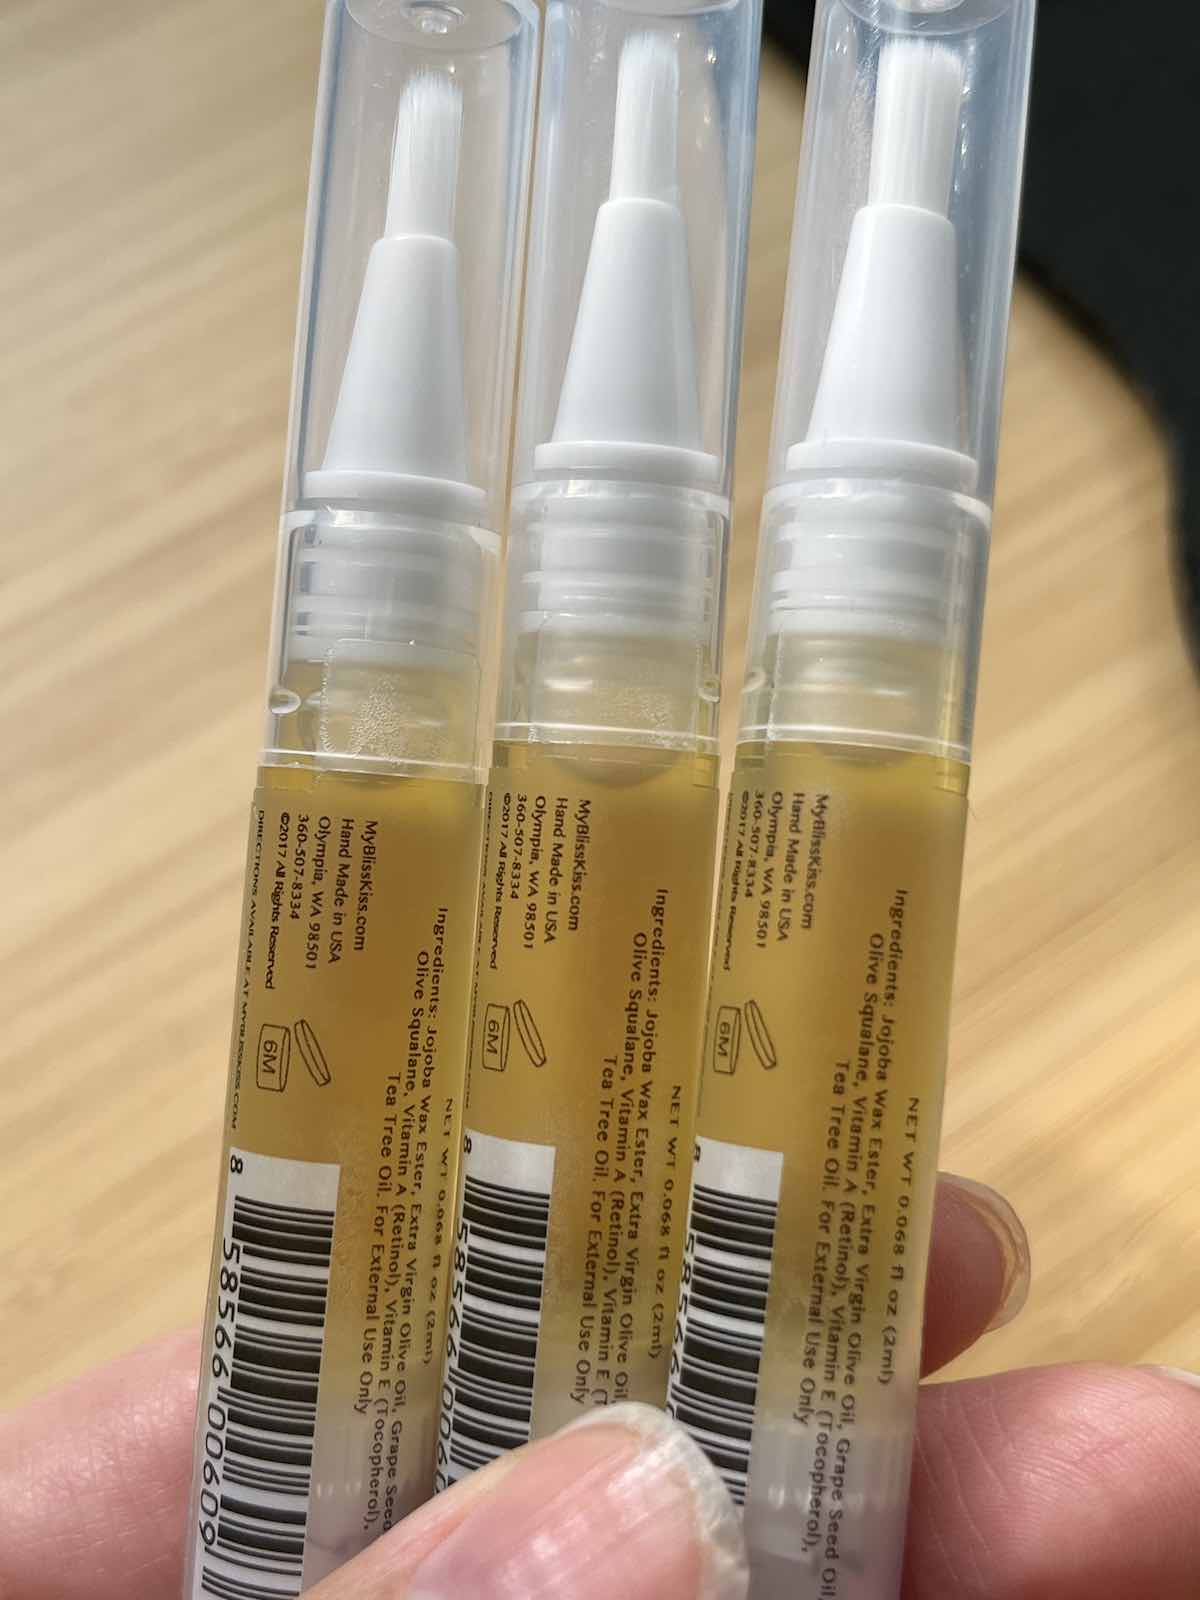
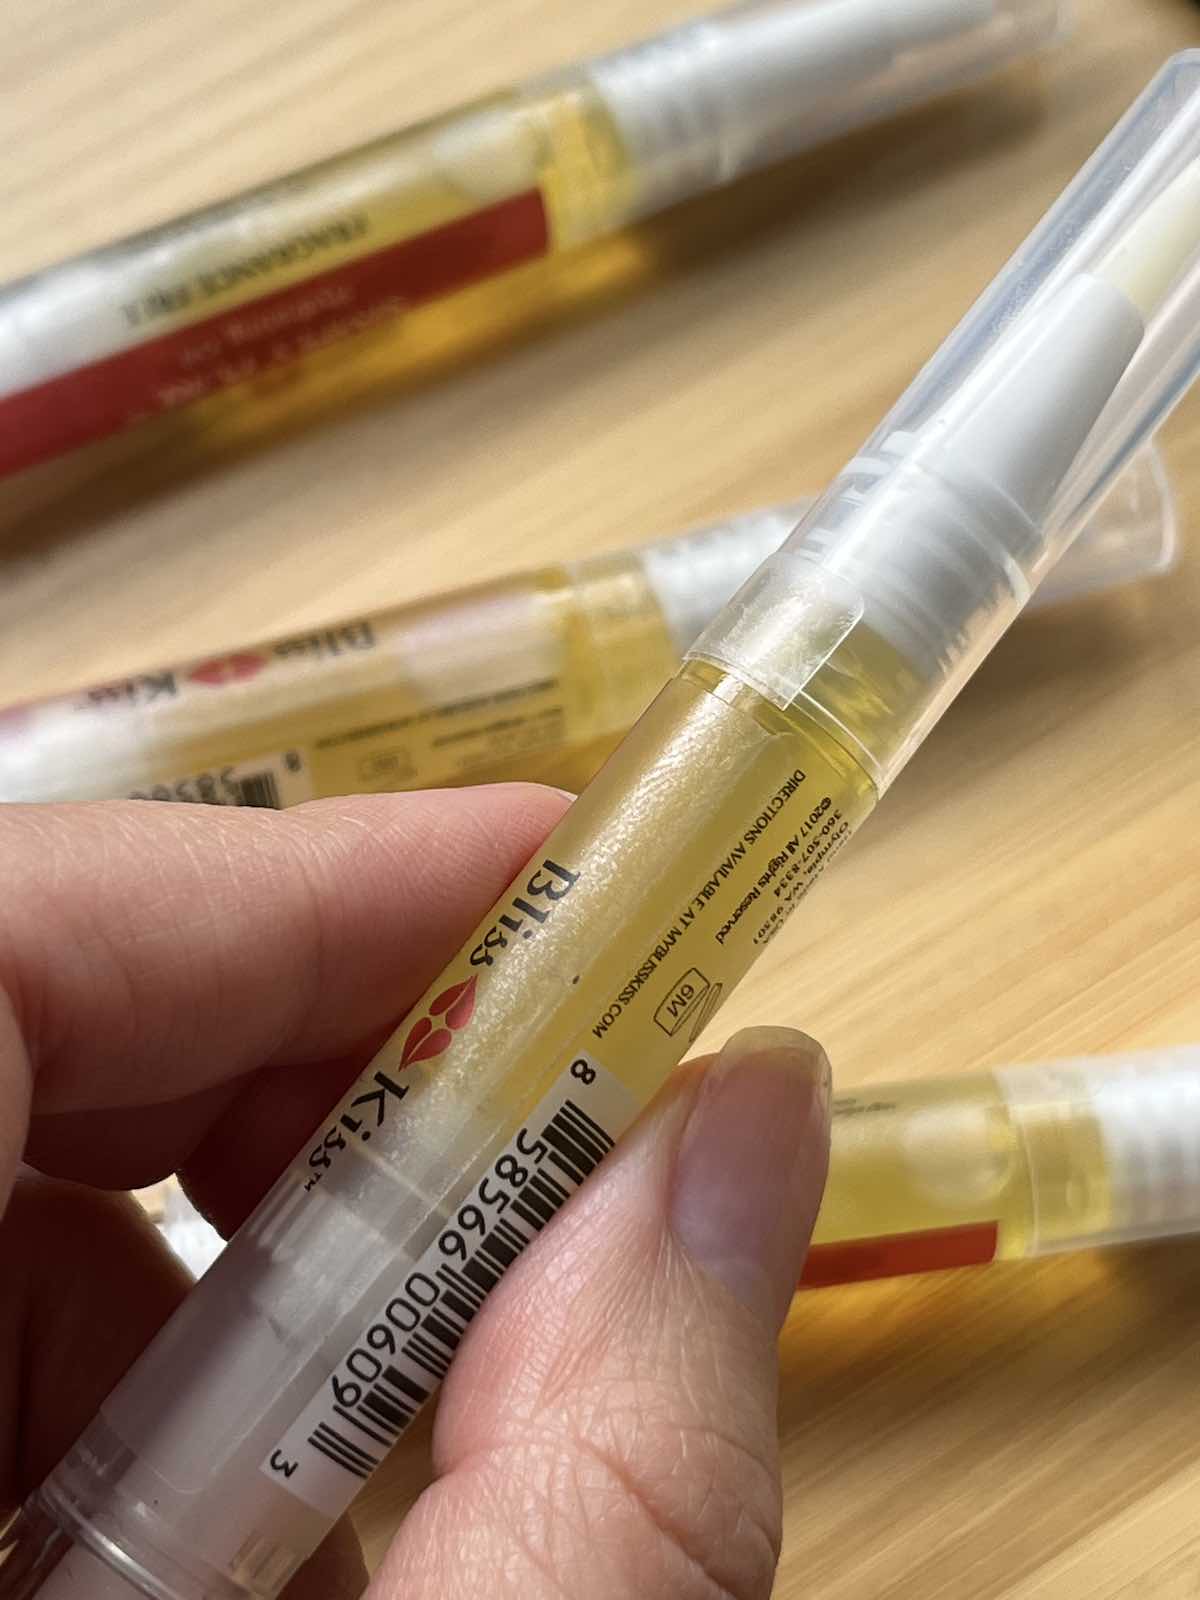
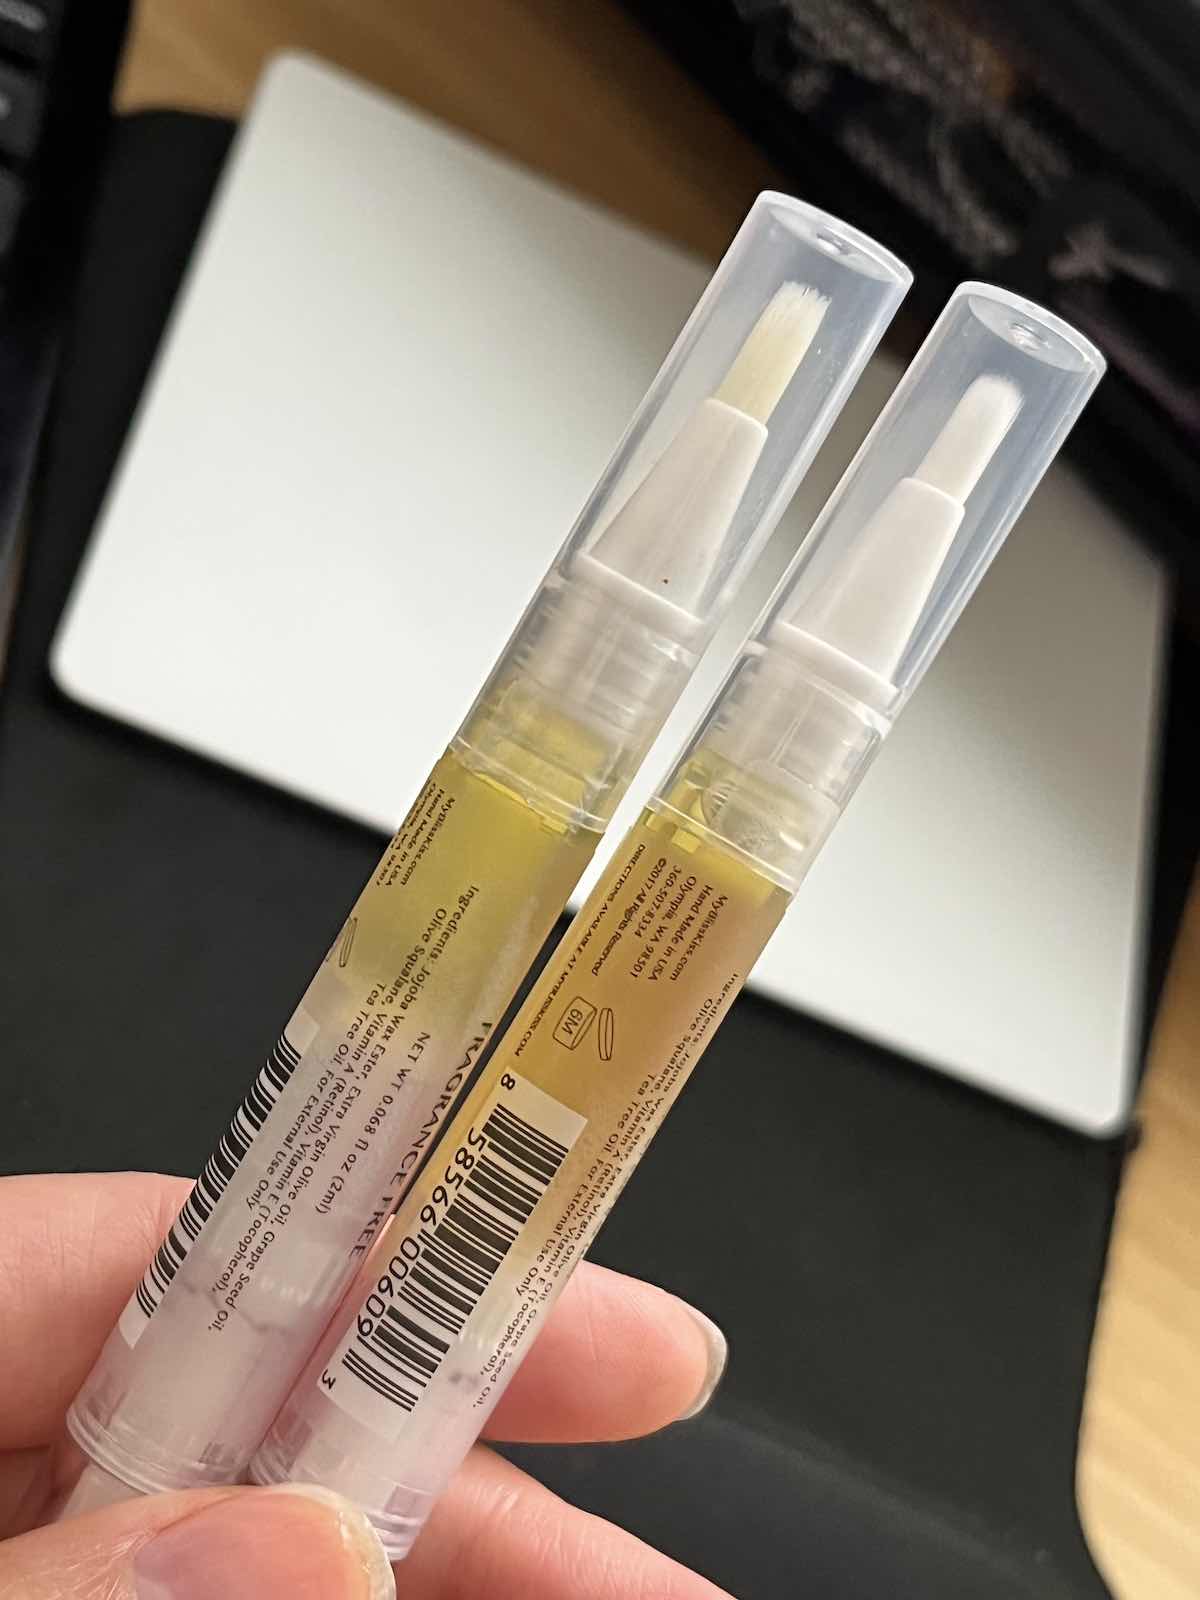
The pens were sealed and the nibs were white (though according to the brand, the nibs may arrive with oil in them already if they accidentally over-filled the pen. The seal on the lid is the best identifier for the product’s newness). Here are my 3 unused pens compared to my used pen with the seal broken:
I did go to the website, but I must admit I did not find the information on there helpful or useful. One of the videos spoke about an intense nourishing ritual using products that I did not have, and, after hearing how long I would have needed to keep the product on for, made me decide that I absolutely did not want to try it either.
I did, however, like the detailed instructions given on the product listing page on Amazon for the 3-Day Initial Hydration Treatment for the exact product I purchased. I found it very informative and realised some of the instructions differed from what I was previously trying based on Cristine’s advice:
- Only use a tiny amount of oil each time – a thin layer is sufficient, no need to look all greased up
- Rub the oil into your nails up to the knuckle
- Once you feel the oil has been absorbed and your nails aren’t slippery, you’re ready for more oil
- Repeat as much as necessary for up to 3 days – you may need to oil up to 15x on the first day
- By day 3, your nails should be saturated with oil and won’t be able to absorb more, then it’s time to add polish
- Cleanse the nail plate with rubbing alcohol before using your base coat
I had no idea that I was supposed to oil my nails that much and keep going until my nails couldn’t absorb more oil before using nail polish. I also didn’t realise I wasn’t supposed to drown my nails in oil each time I oiled them and that a thin layer would suffice.
I had been massaging the oil when I used my nail oil before, but I didn’t realise it was supposed to be in a specific upward motion up until the knuckle (the motion was spoken about in a separate video on their website, but I’m not sure how vital it is). Finally, I didn’t realise I should cleanse my nail plate with rubbing alcohol rather than acetone, which I guess makes sense because acetone is so dehydrating.
Not to say Cristine’s advice wasn’t helpful, but these instructions provided more context, and I appreciated the extra detail. I’m not sure how this will affect the longevity of my nail polish but we shall see. You can read the full instructions on the Amazon product listing page here if you’re interested – scroll down until you find the section that says “START HERE: The 3-Day Initial Hydration Treatment.”
Day 1
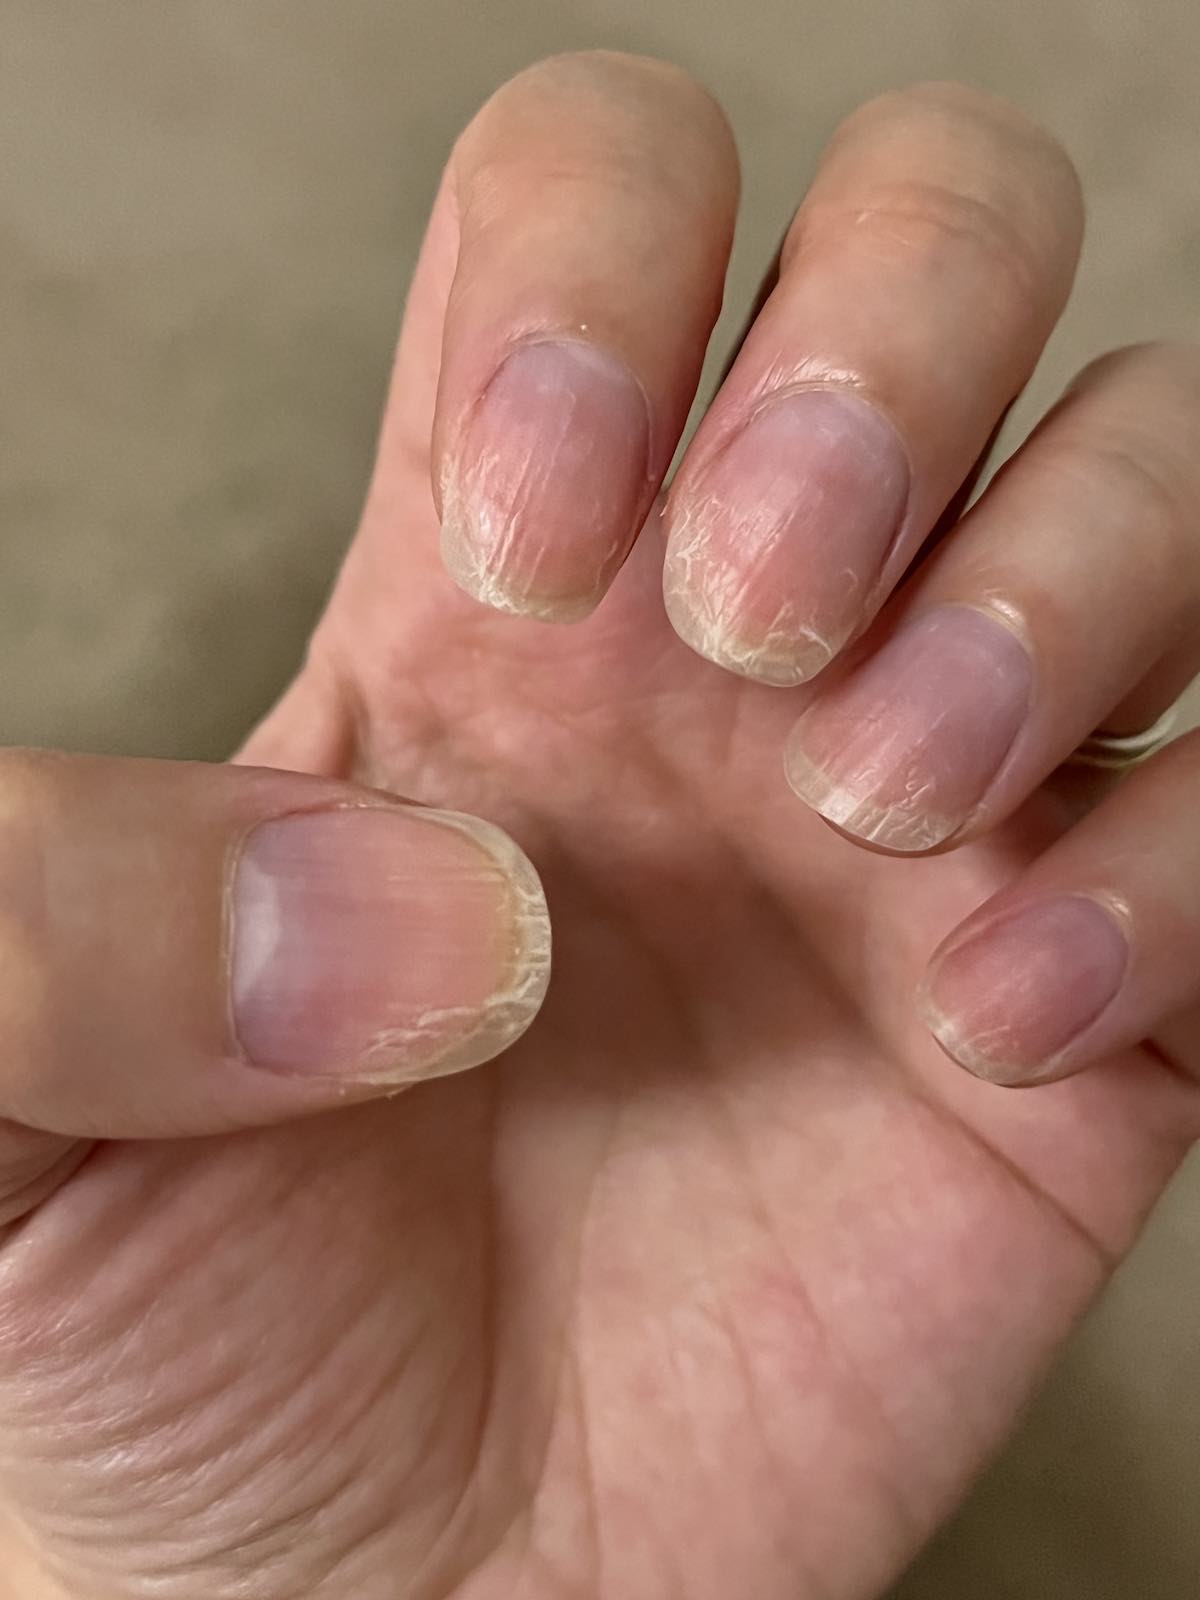
Goodness me. My nails must have been absolutely parched. Here you can see them before I tried the treatment – this was right after I’d finished peeling off my nail polish (thanks, Peely Base!) and removing any excess with acetone:

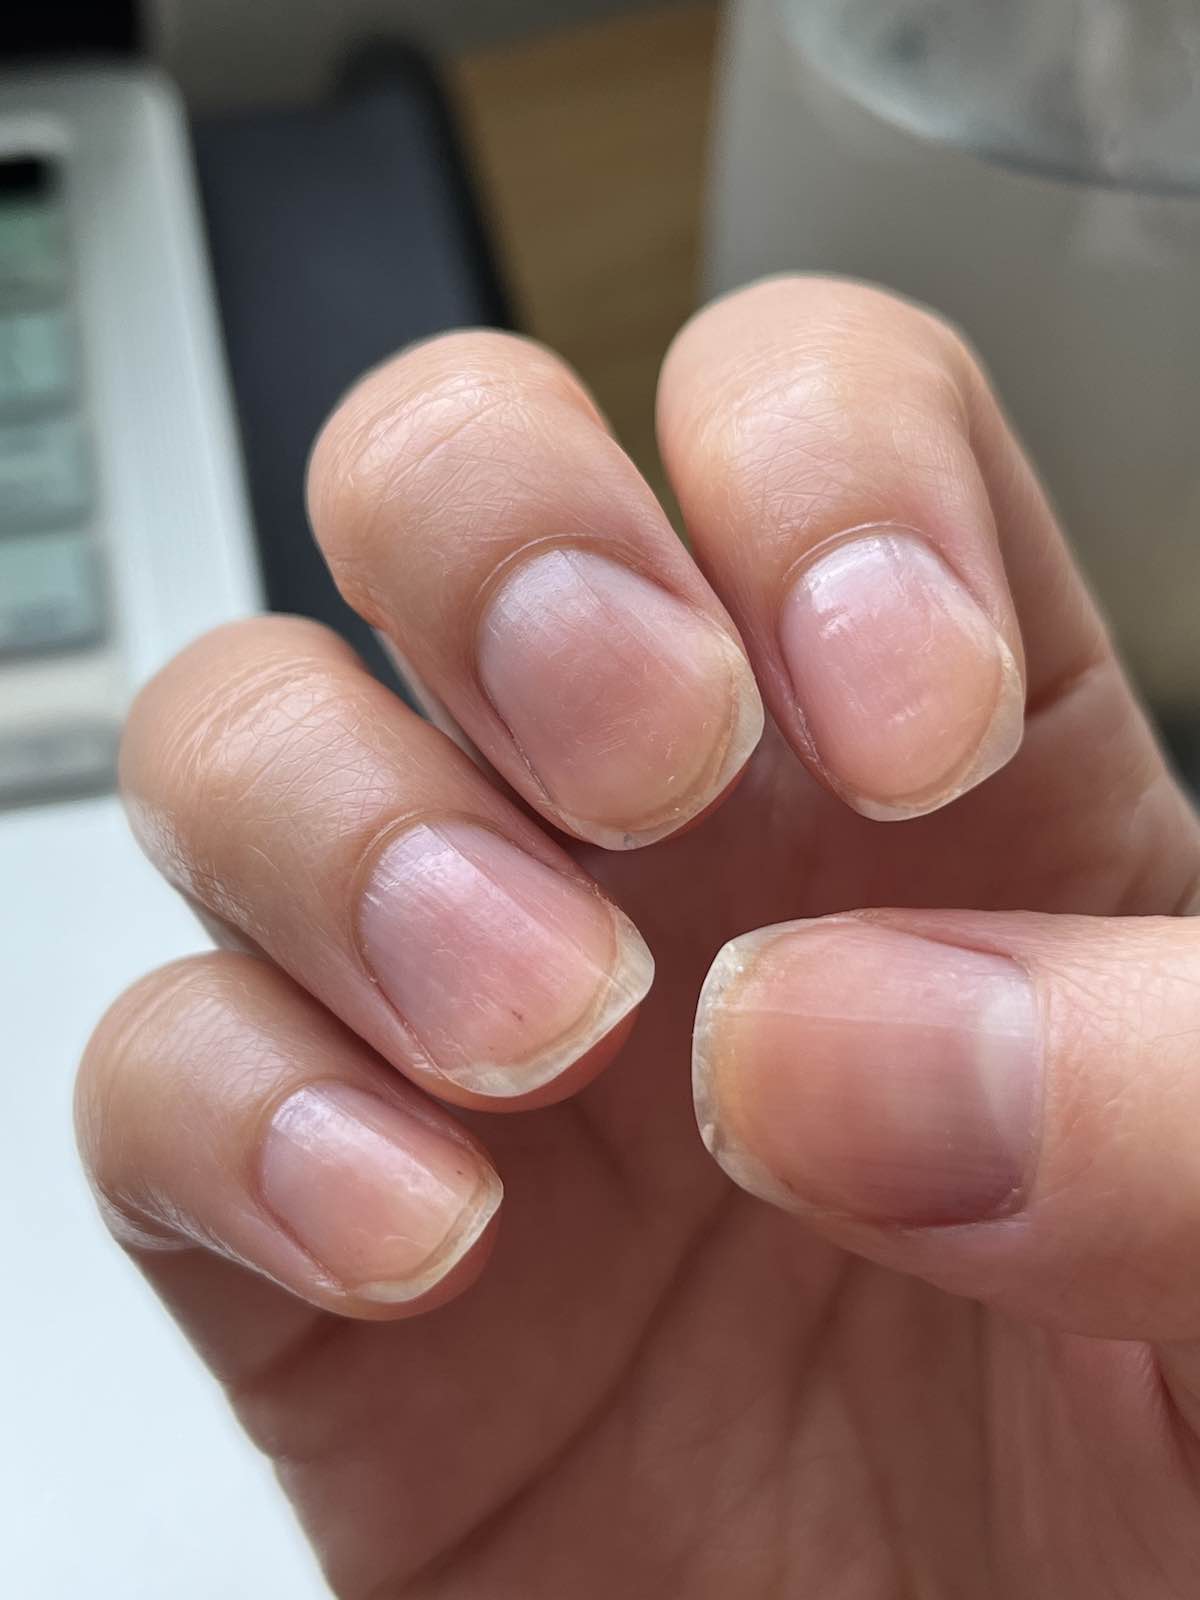
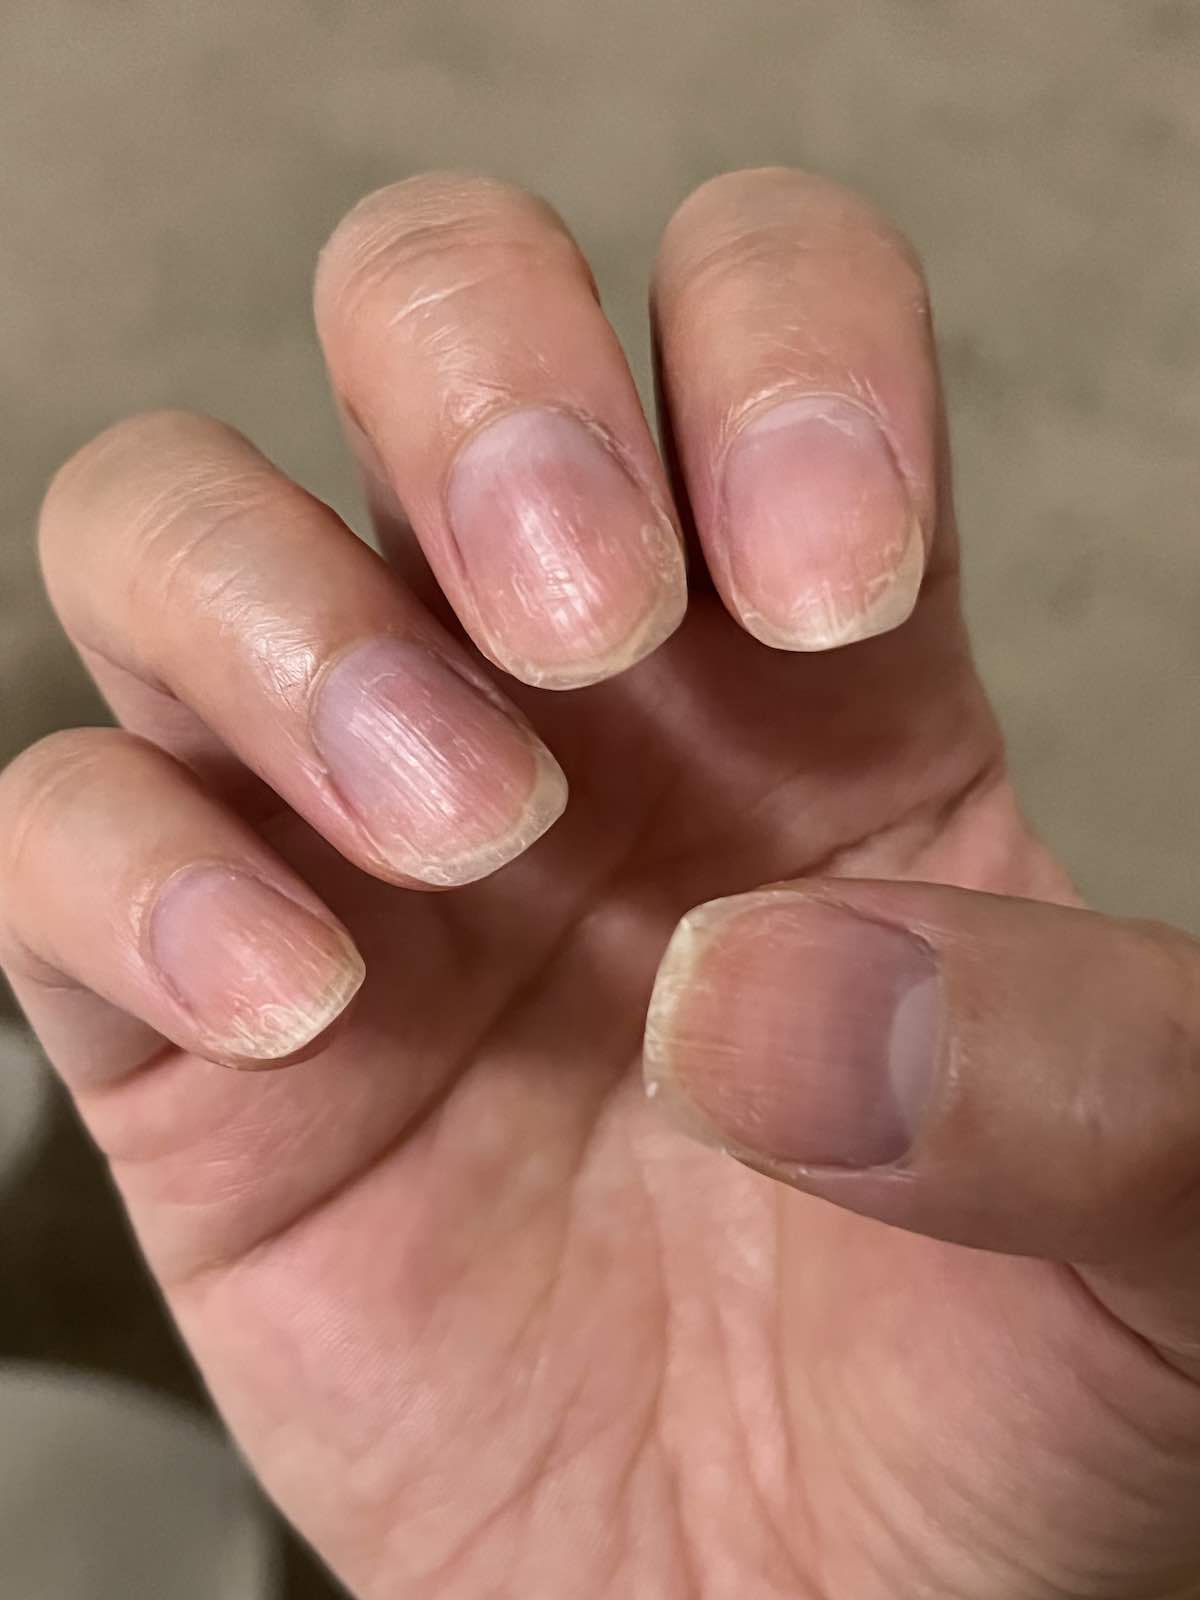
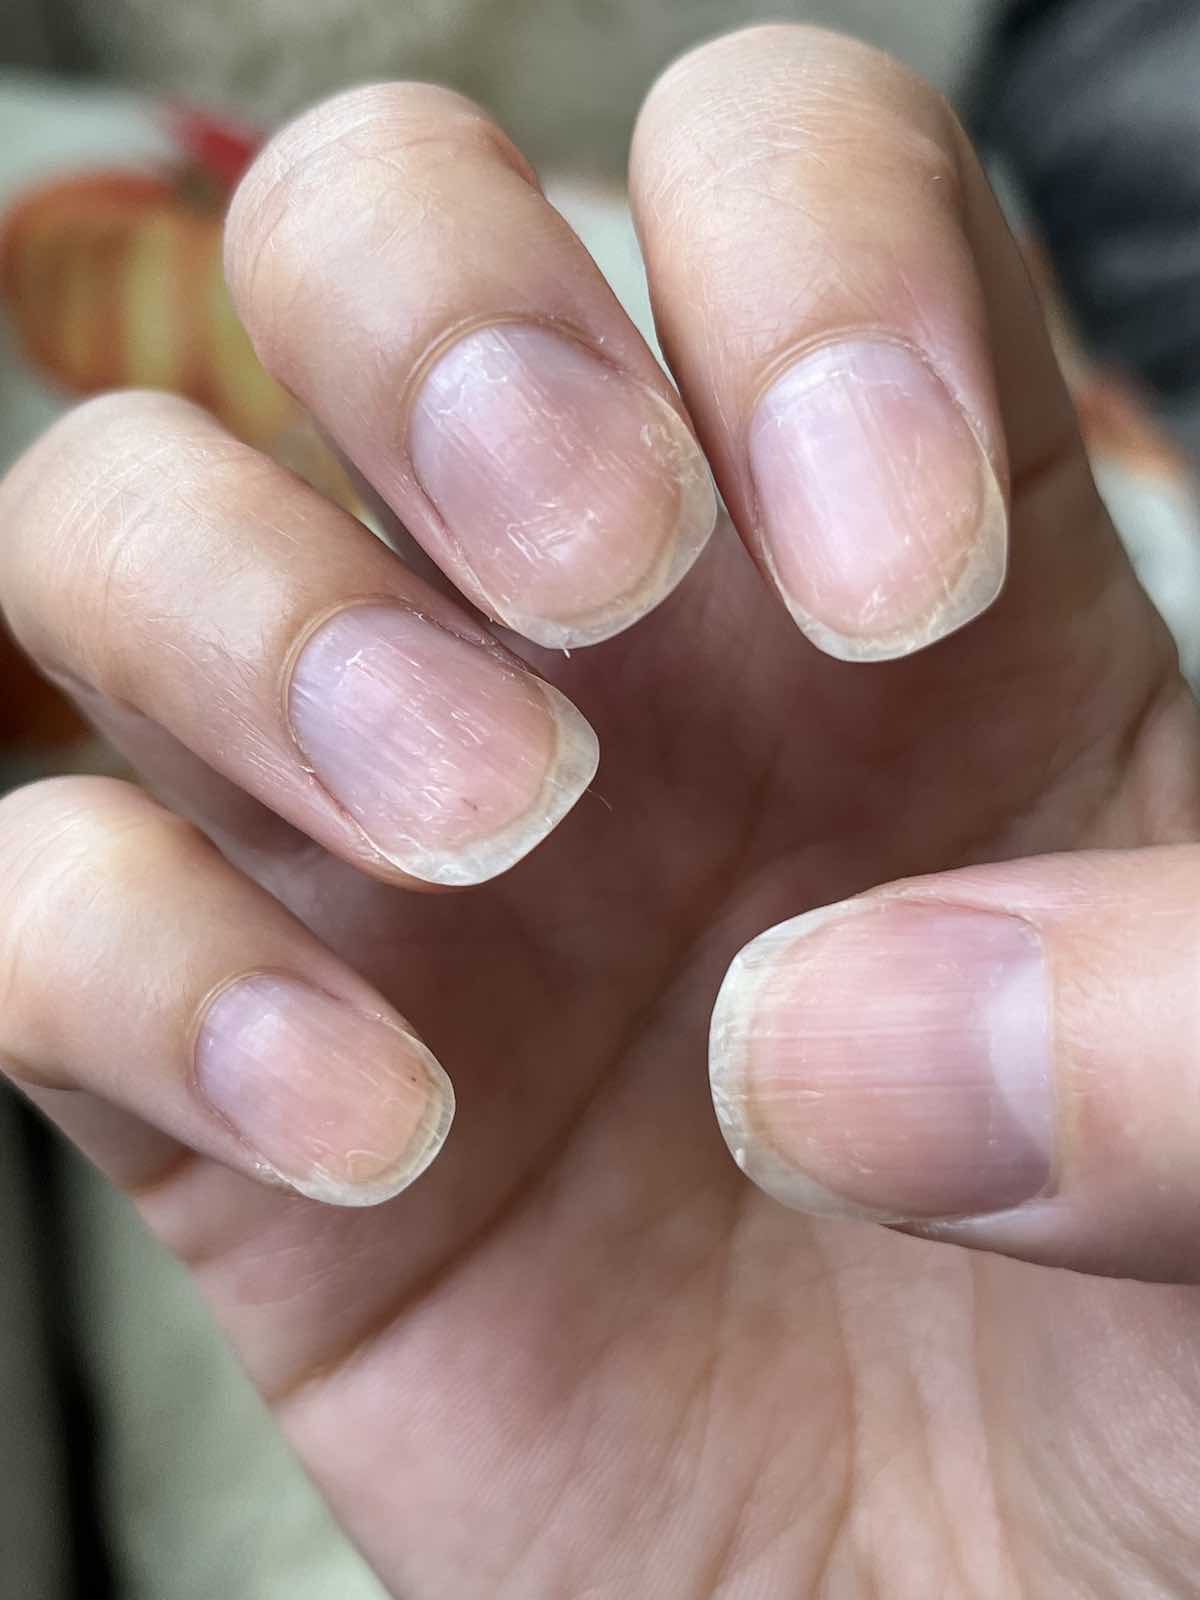
They already look pretty bad from those photos, but allow me to show you the close-ups:
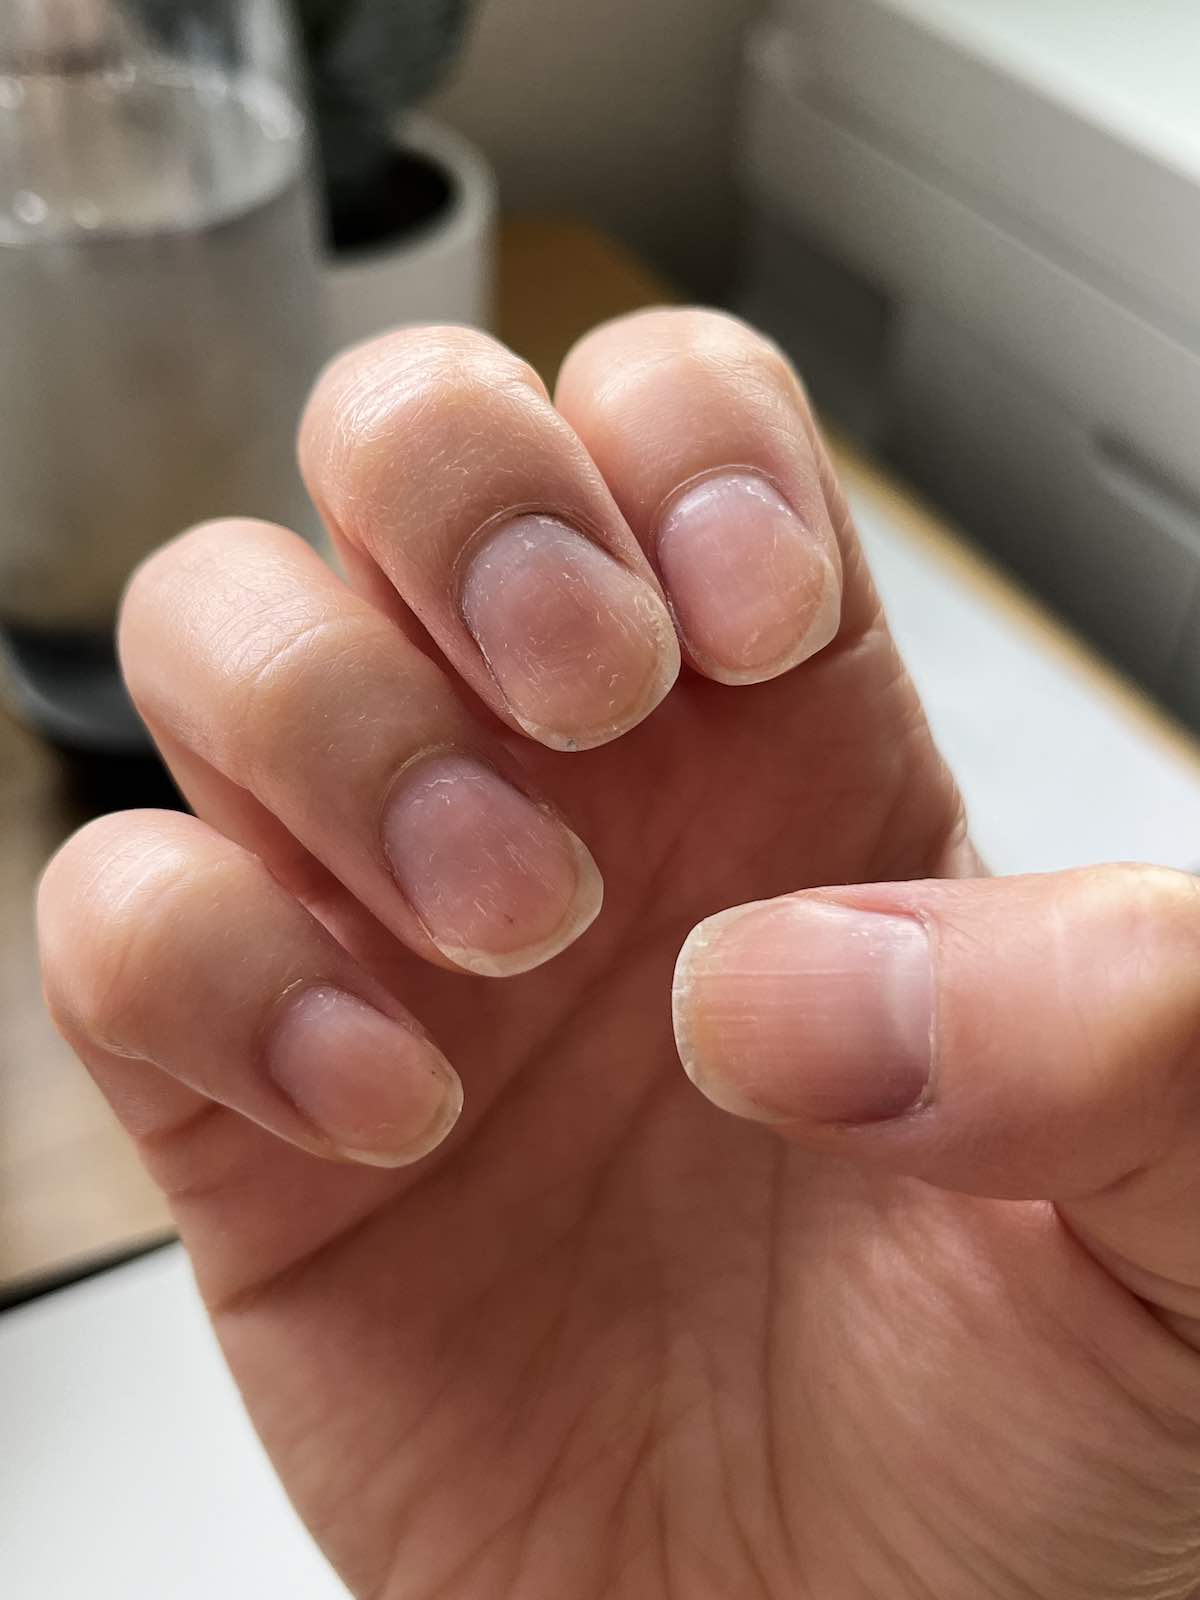
It is absolutely not a pretty sight. They were dry, flaky, brittle, weak… parts of my nail was peeling off, and some of my nails actually hurt when I touched them. After the first application of oil, the difference was almost instantaneous:
It didn’t stay like that for long though. My nails must have been absolutely parched because they absorbed the oil and became ‘no longer slippery’ almost immediately. I must have re-applied the oil something like 15x in the first hour alone. I continued to re-apply the oil throughout the evening, and thankfully as the evening went on, the time between applications lengthened until I was only re-applying every 30-60min.
My nails look so different with a layer of oil on them. My header image was taken some time around now.

By the end of day 1, I’d already used up half of one pen and my nails were looking… pretty darn decent. I’ve never seen my cuticles looking so healthy, especially the middle finger on my right hand, which has always been a problem cuticle for me due to how insanely dry it’s always been.
My cuticles literally look like they’d shrunk in half without me even needing to push them back.

Day 2
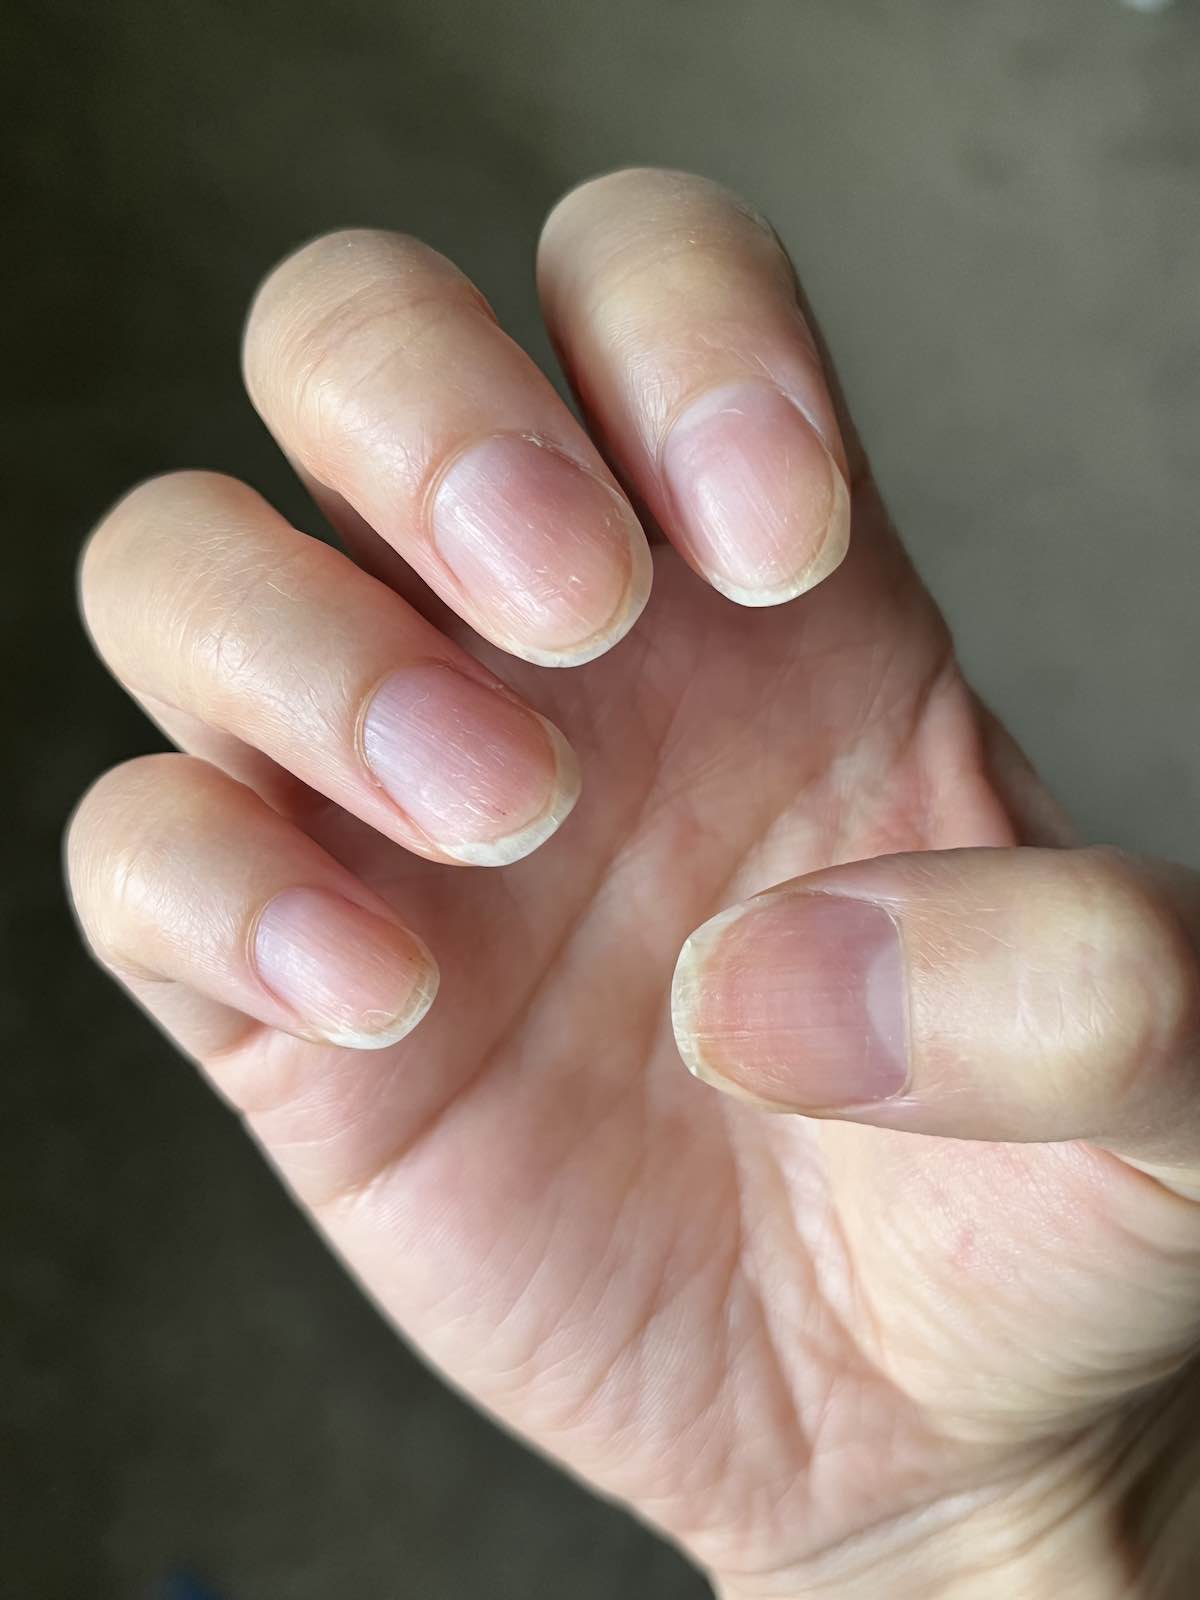
My nails started their day looking fairly dry again – all the oil had been fully absorbed into my nails and they were needing more. Ignore the thumb on my left hand, I’d already added a thin layer of oil onto it before I realised I should take photos first. The rest of my nails are un-oiled, and don’t they already look substantially healthier than when we started?
Here’s where my nail oil pen was at by mid-afternoon:
I don’t anticipate this pace of usage for the rest of my pens though. My rate of re-oiling has drastically decreased already because it’s simply taking my nails longer to absorb all the oil now. On day 1, I constantly felt like I needed more nail oil, but today it’s been once every couple of hours or every time after I finish washing my hands.
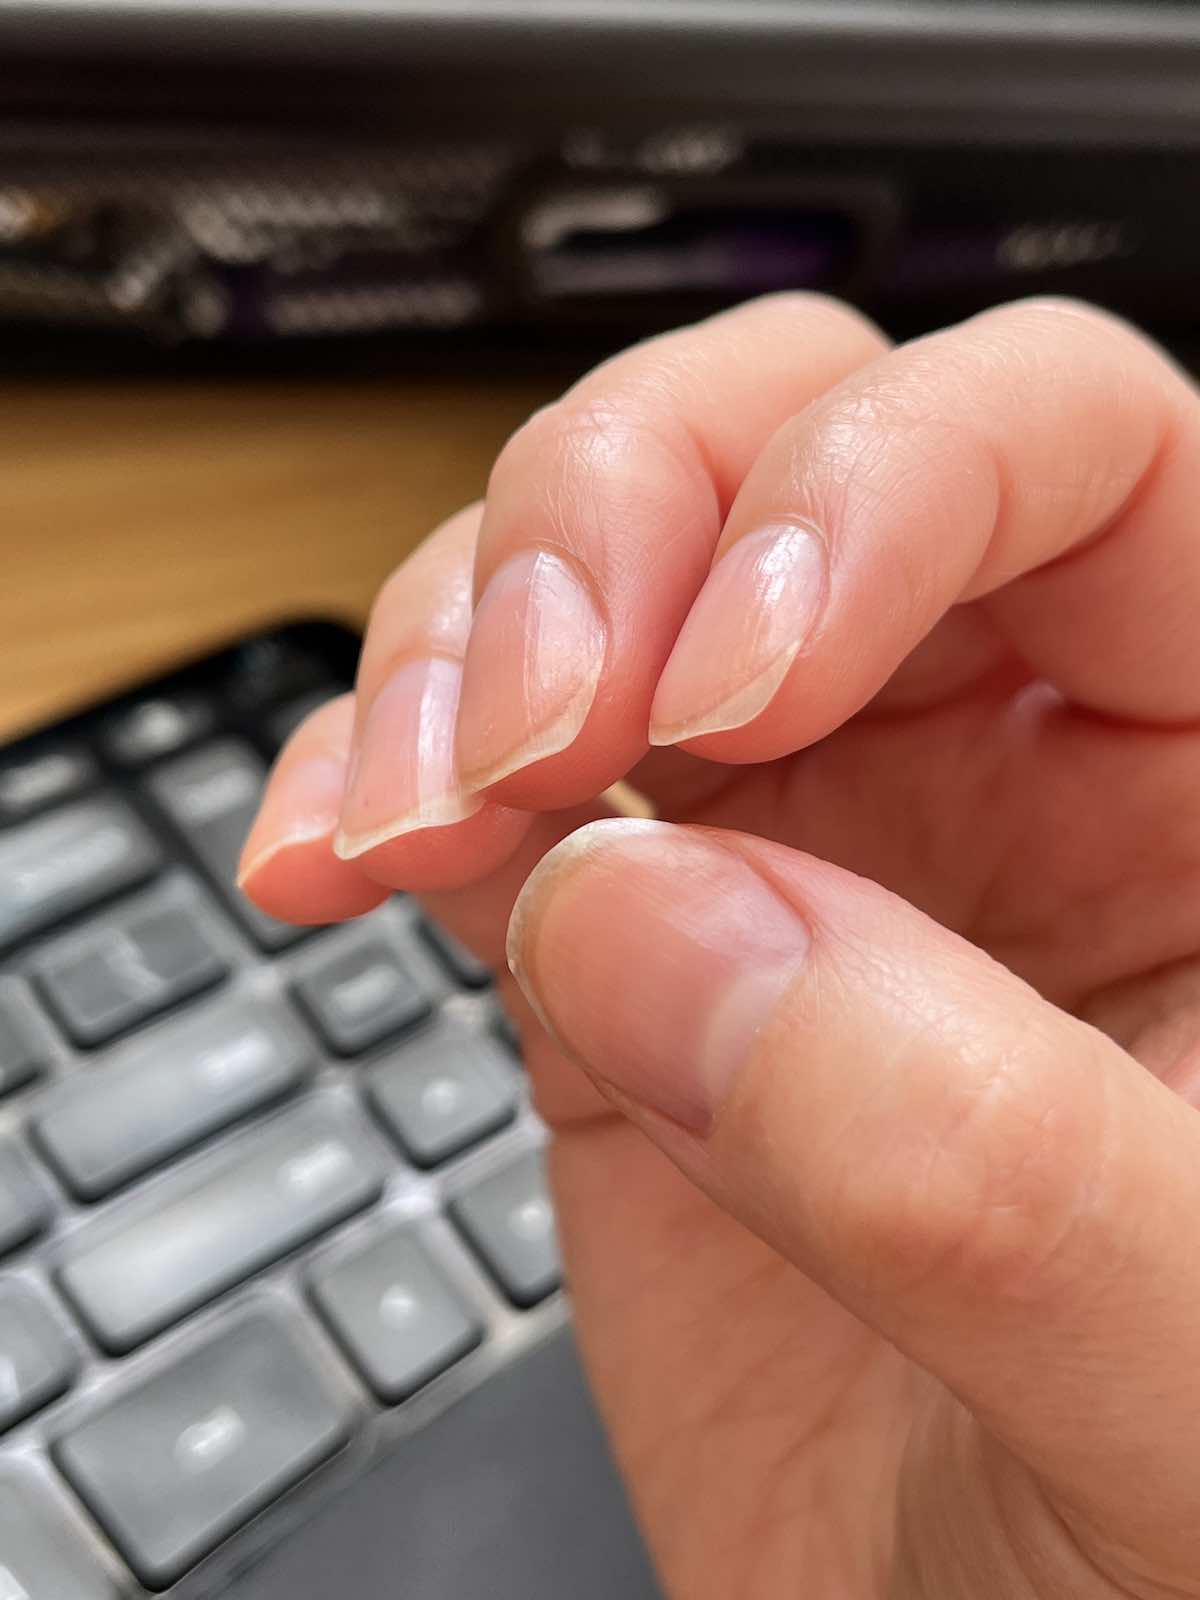
By the end of the day, my nails were looking somewhat healthier but still dry, and goodness me my nail bed was uneven. However, what really shocked me was how awfully dry they looked after a shower. I can see why they say that water causes your nails to shrivel up and here they are, looking almost as bad as day 1:
The nail on my left hand seems to have developed a long and large crack – I’m not sure if that’s a break or other type of split, but it wasn’t there on the first day and is worrying me. Hopefully it’ll sort itself out.
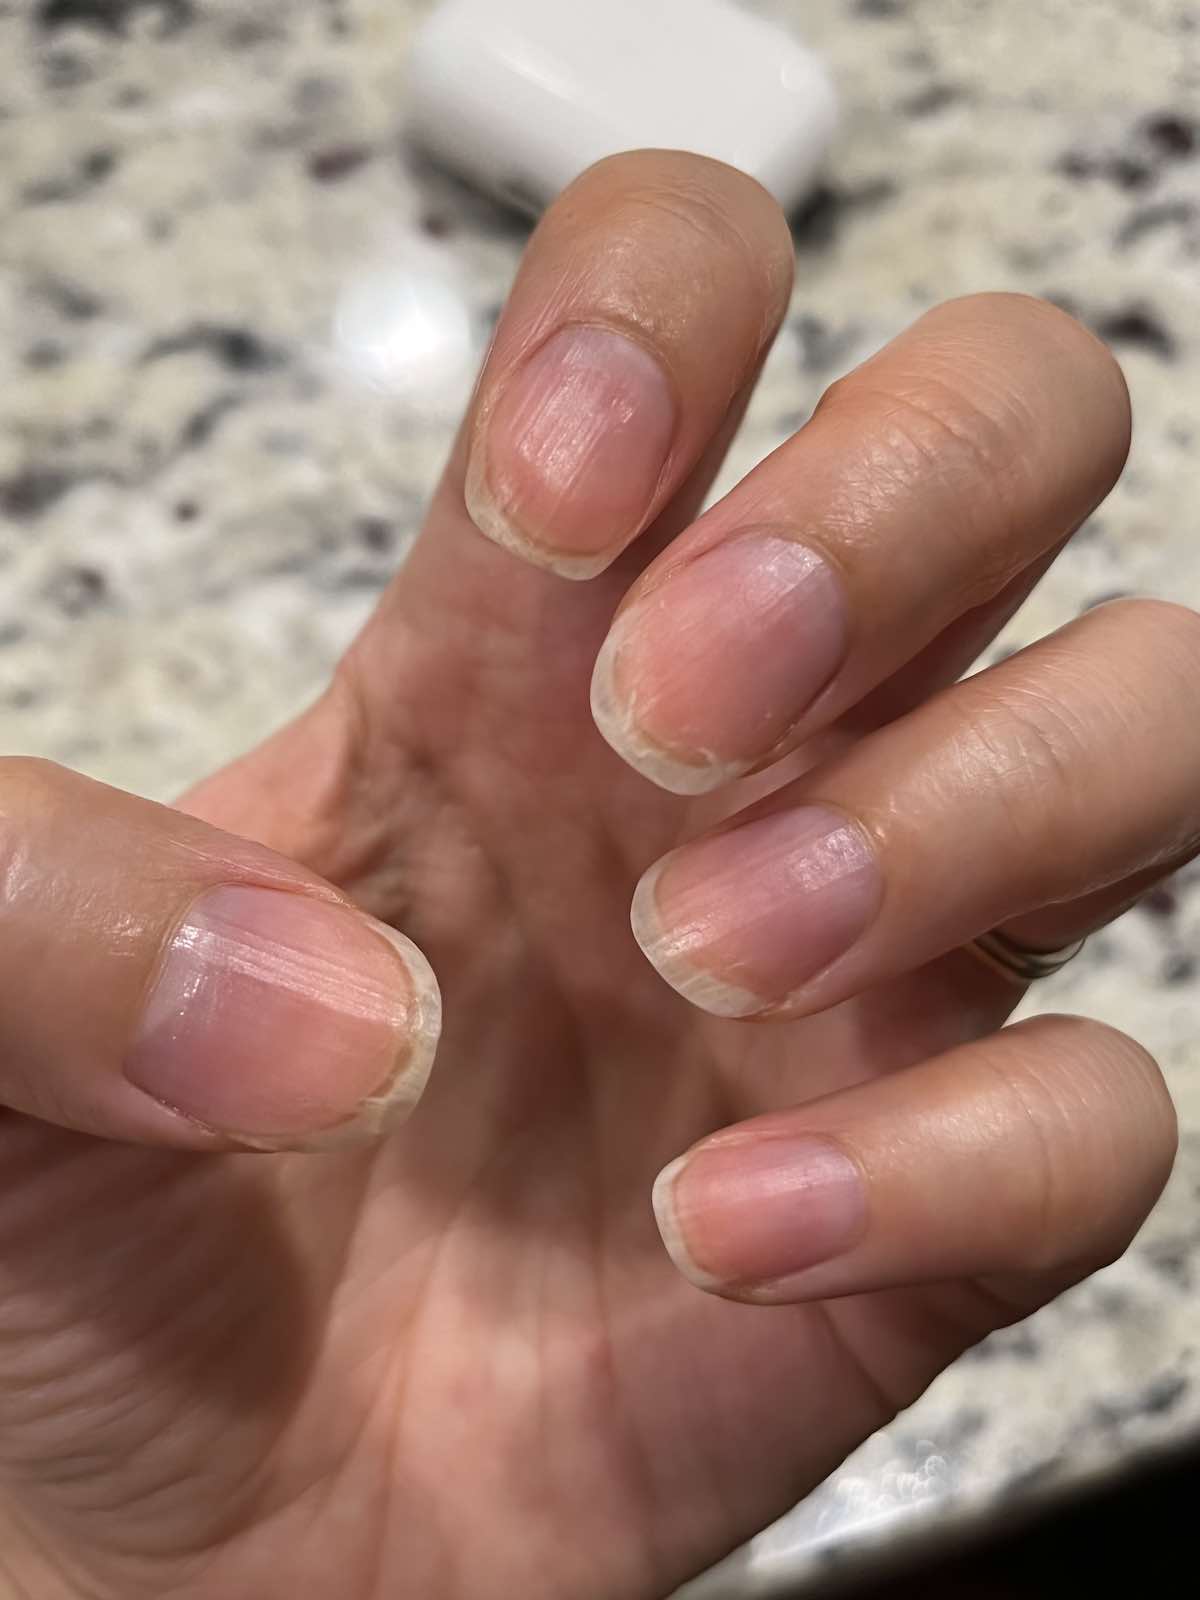
Day 3
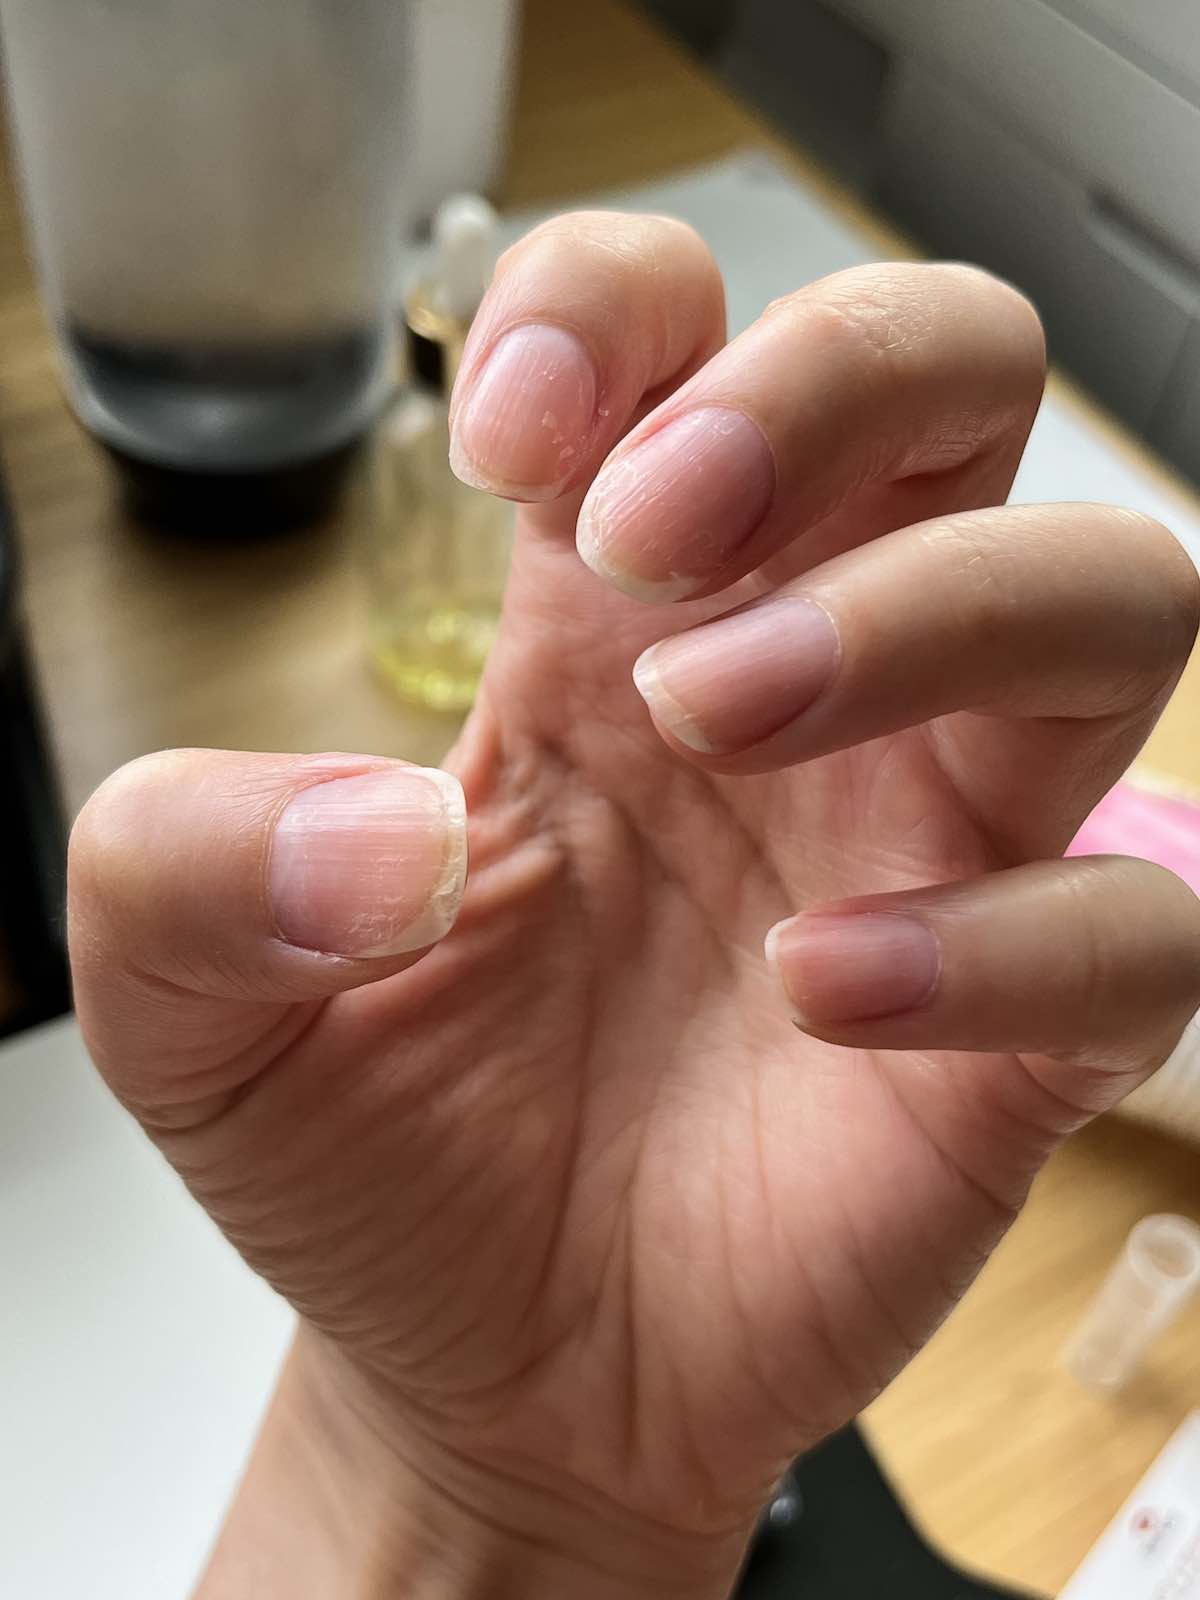
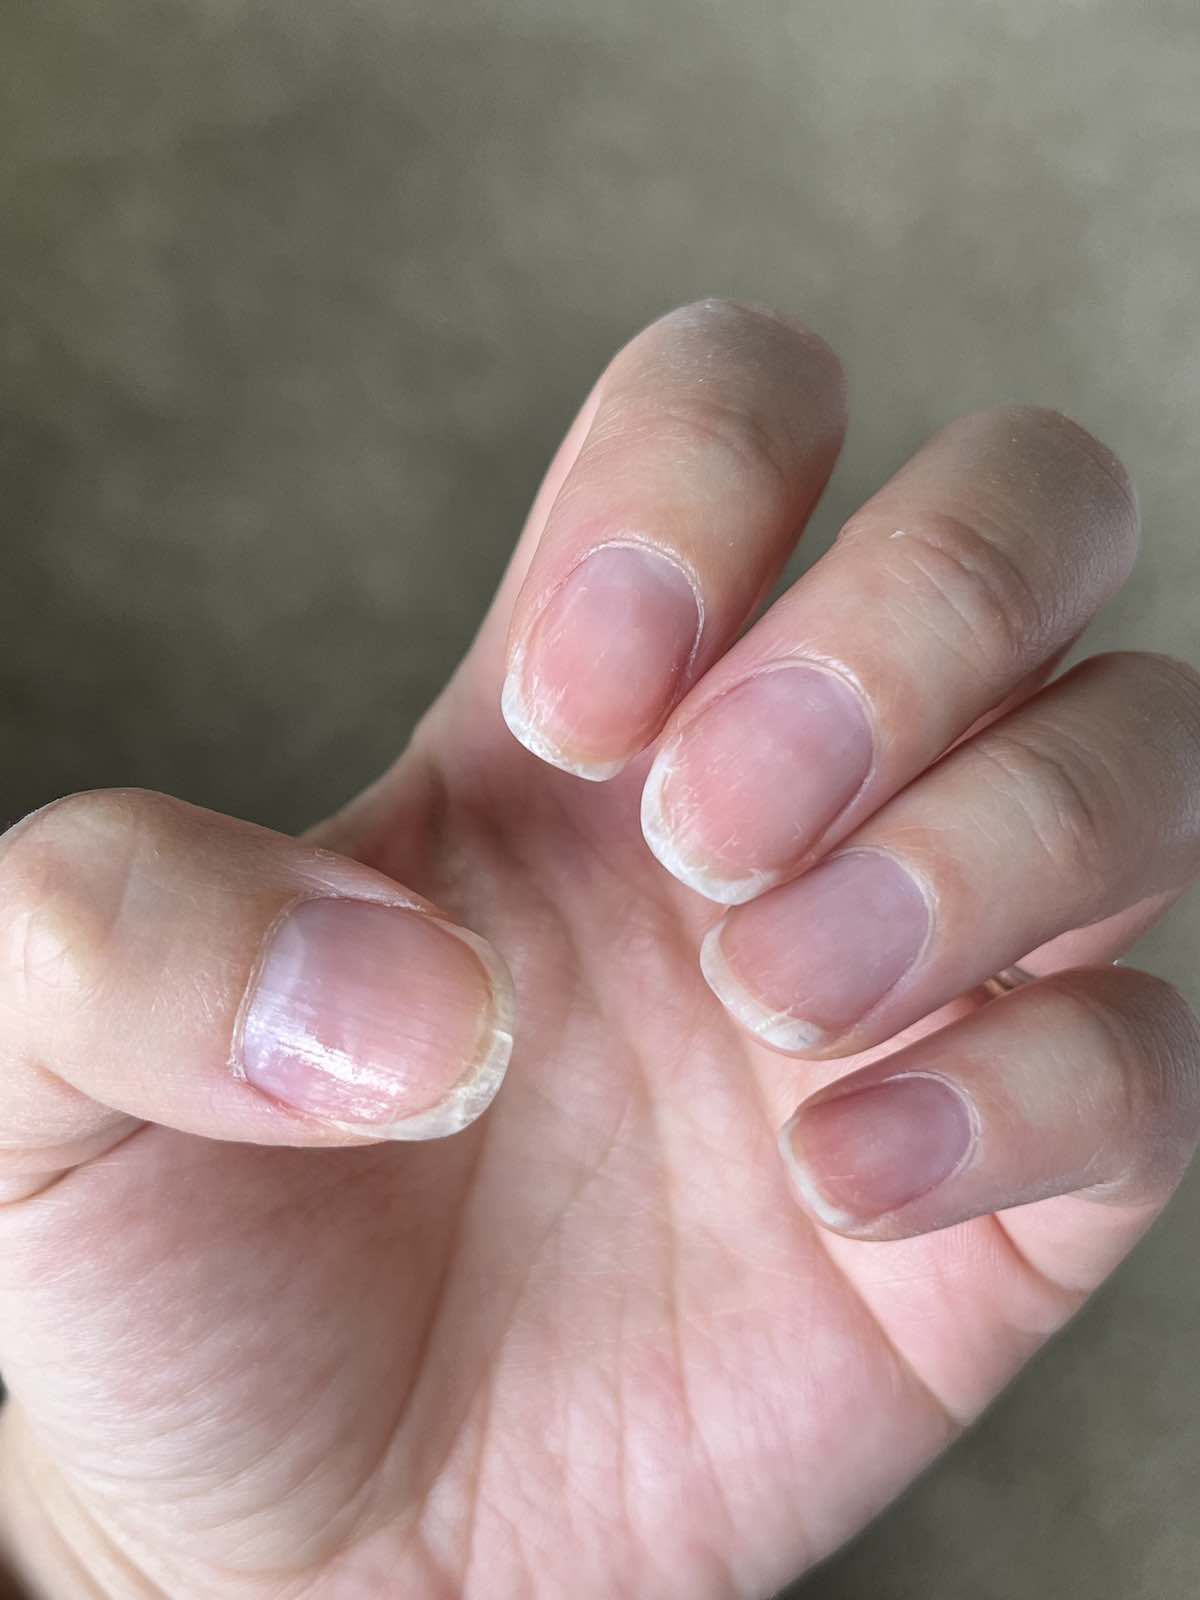
It’s the morning of day 3, supposedly the final day of hydration therapy, and I took these photos before oiling, but to be fair, I had washed my hands beforehand. My right hand is looking healthier for sure, but my left hand is looking far more cracked than it did before.
The nail splitting on my thumb is looking more permanent and it’s even starting to bend at that awkward angle. No amount of oil is fixing this and I’m honestly not quite sure what to do. There’s also a tiny little straggler on my right middle finger that was easily fixed with a light file.
The good thing is that I am only needing to oil once every couple of hours and every time after I wash my hands. I’ve started to use gloves a lot more when doing general activities like feeding my cat so I wouldn’t have to wash them as frequently and cause more harm.
By the end of the day, my nails looked like this:
A little better, and you can’t see the deep crack on my left thumb as much, but bear in mind this photo was taking not too long after I oiled my nails. On day 3, Bliss Kiss recommends putting on nail polish and locking that oil in because my “nails should be saturated with oil” by now.
I guess mine are just extra dry because whatever oil I give them, they are still absorbing like mad. They still look and feel dry within hours of applying oil, so I guess I will have to keep going to see how long it takes before I feel like my nails are healthy.
Technically I started around 4pm on day 1, so it hasn’t been a full 72 hours yet. I’ll give it until 4pm on ‘day 4’ to give my final update and final thoughts.
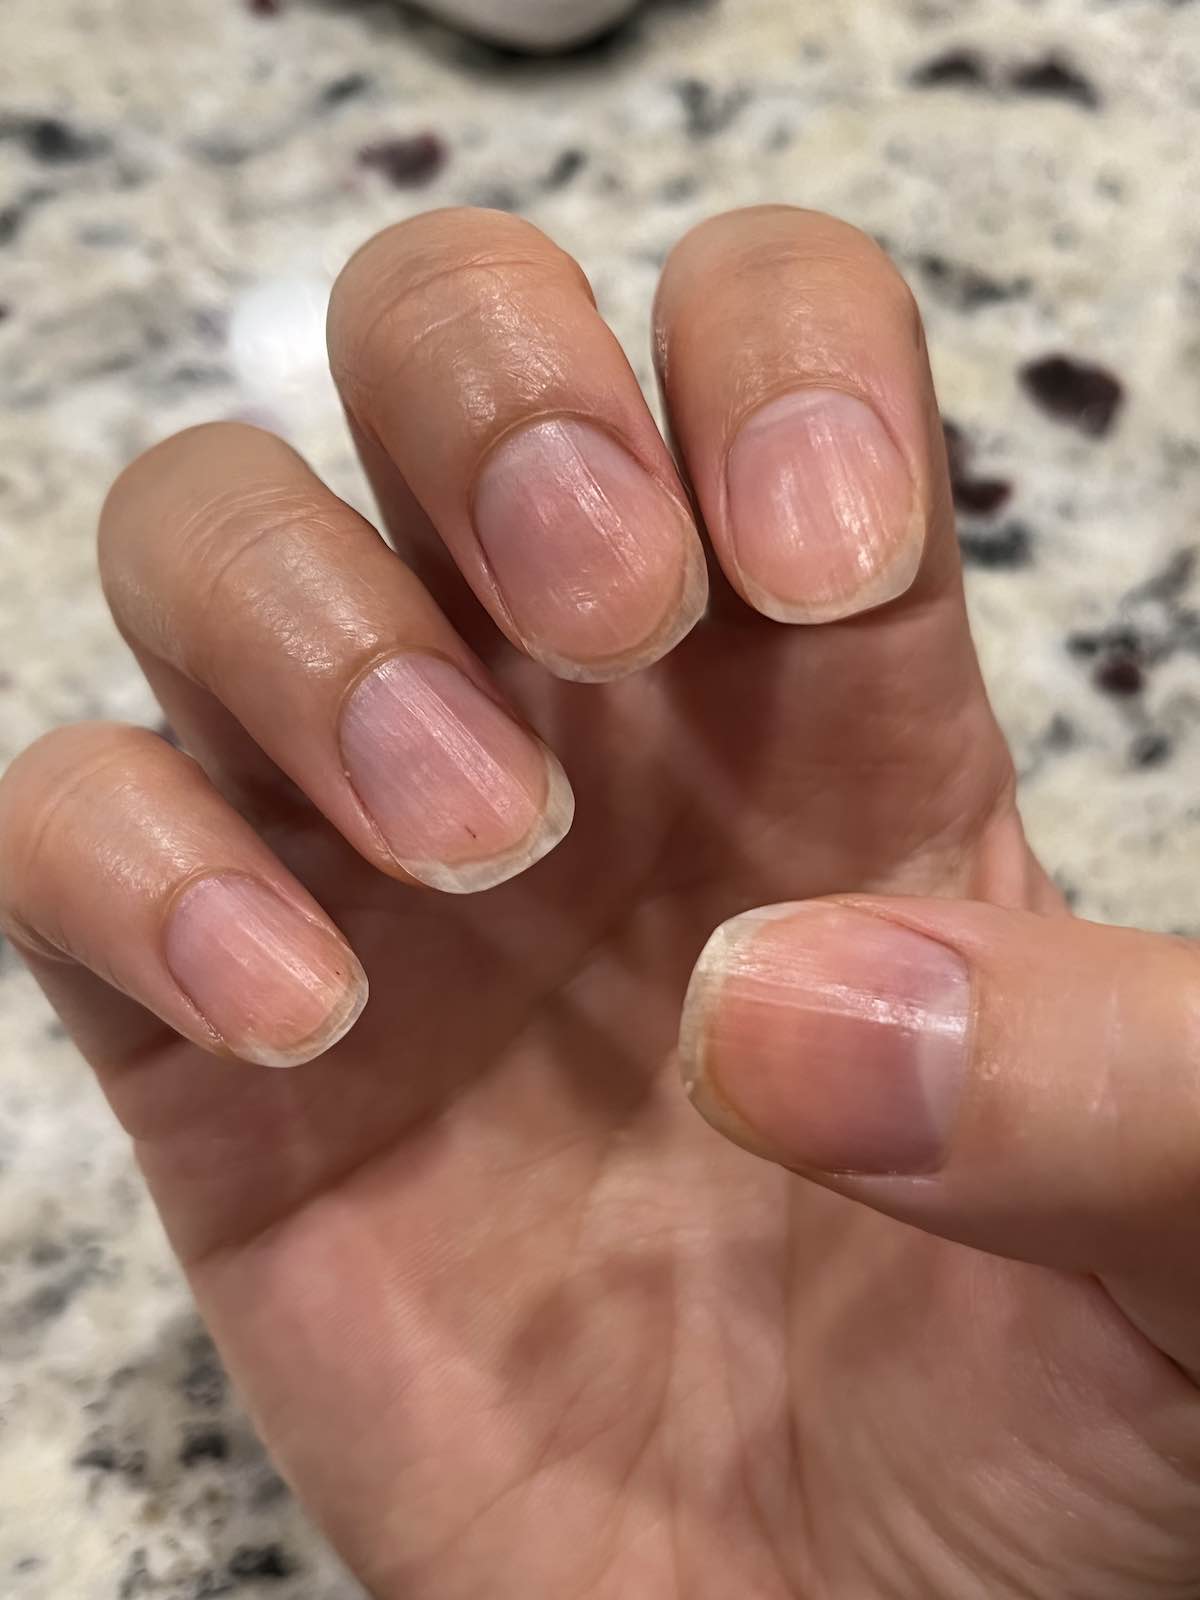
Day 4
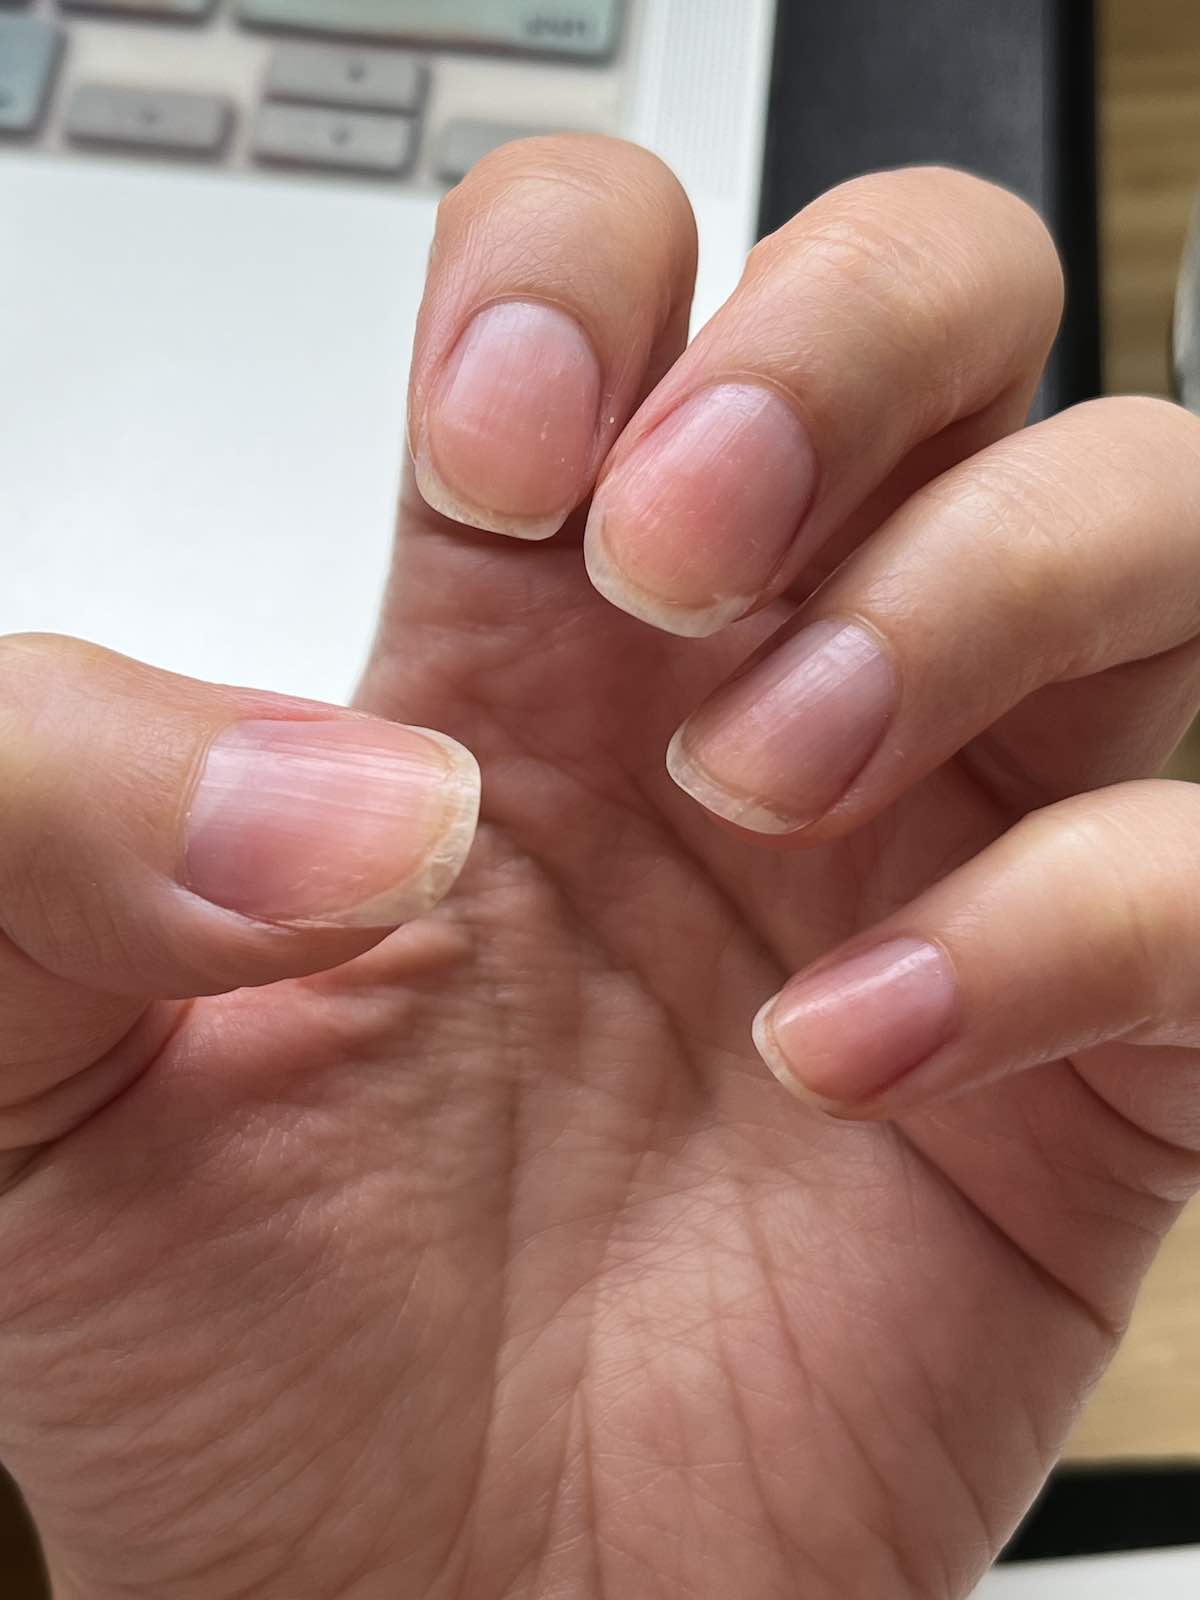
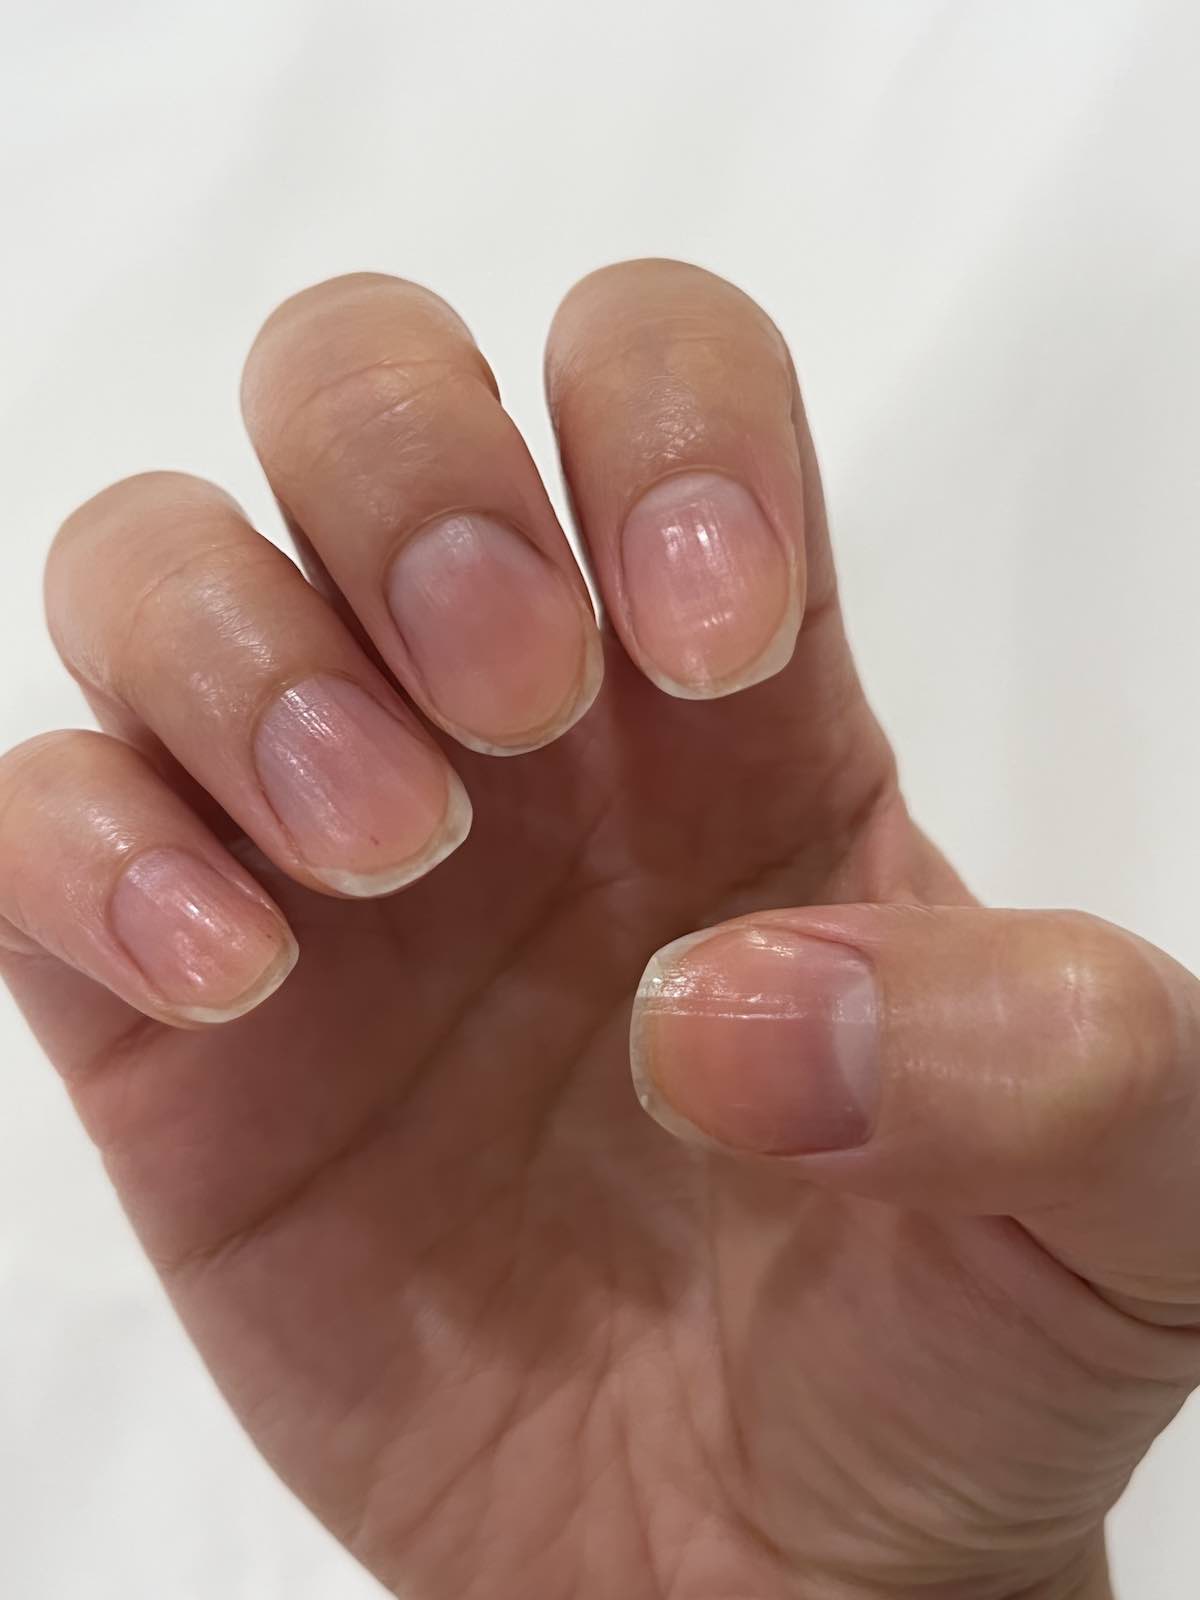
These photos were taken literally right after I rolled out of bed. They were the best ones and the left hand one is still a little blurry because I wasn’t properly awake yet. Lol.
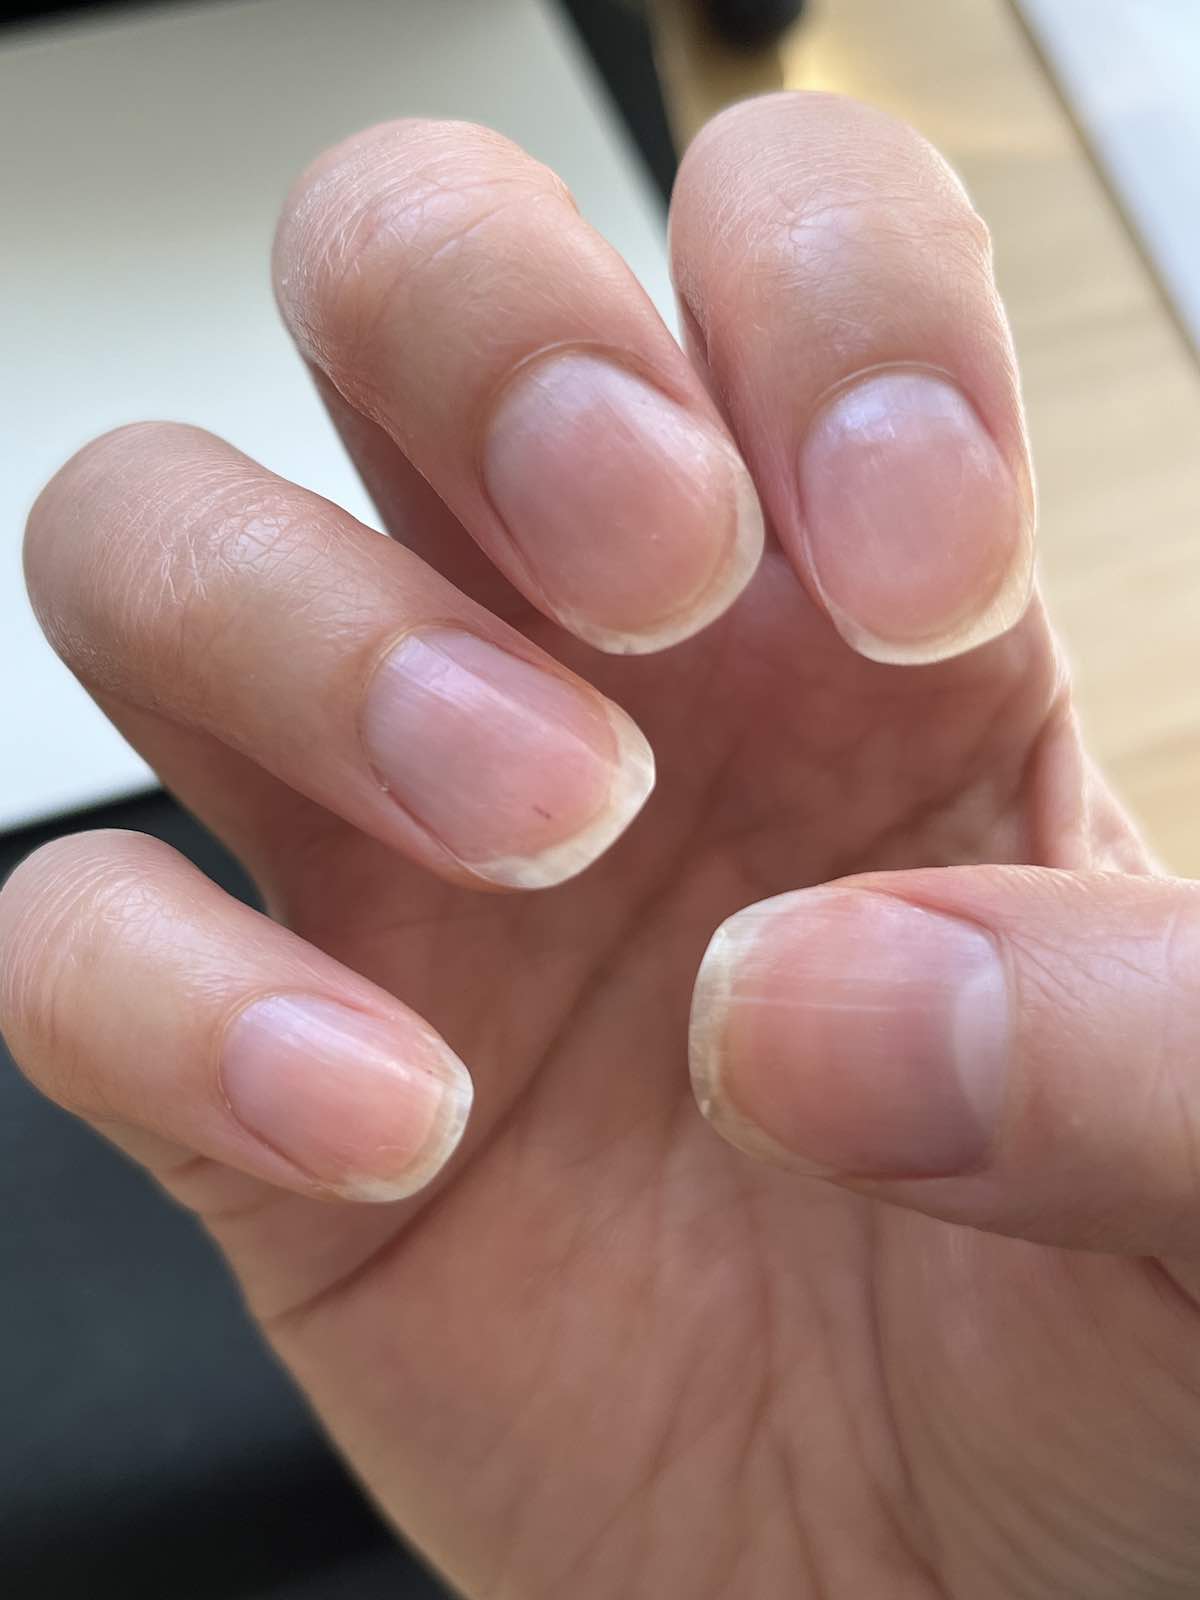
They are certainly looking healthier compared to day 1! Both my hands are actually looking pretty good; my right hand is looking better than good, though my left hand still feels dry. That split on my left thumb is still a problem. There are still visible dry patches on multiple nails, but at this point I don’t know if it’s something nail oil can fix.
Nail oil can help with hydration and moisture, but it’s not magic I guess. In terms of where I’m at with my pen, we are down to the final quarter. This isn’t bad at all – the rate of use seems to be diminishing daily which, by my understanding, is the point: the more hydrated your nails are, the less frequently you need to oil them up again.
I was originally going to keep oiling for another day to see if an extra day of intense hydration makes a difference, but by early afternoon I got way too impatient and desperately wanted to paint my nails… so I did. Originally I was only going to paint my right hand since the nails seemed to be faring better and felt better hydrated, but when I saw how gorgeous the colour I used was I just had to paint both hands.
I only got a photo of my right hand before painting. My left didn’t look too different from this morning’s photo.
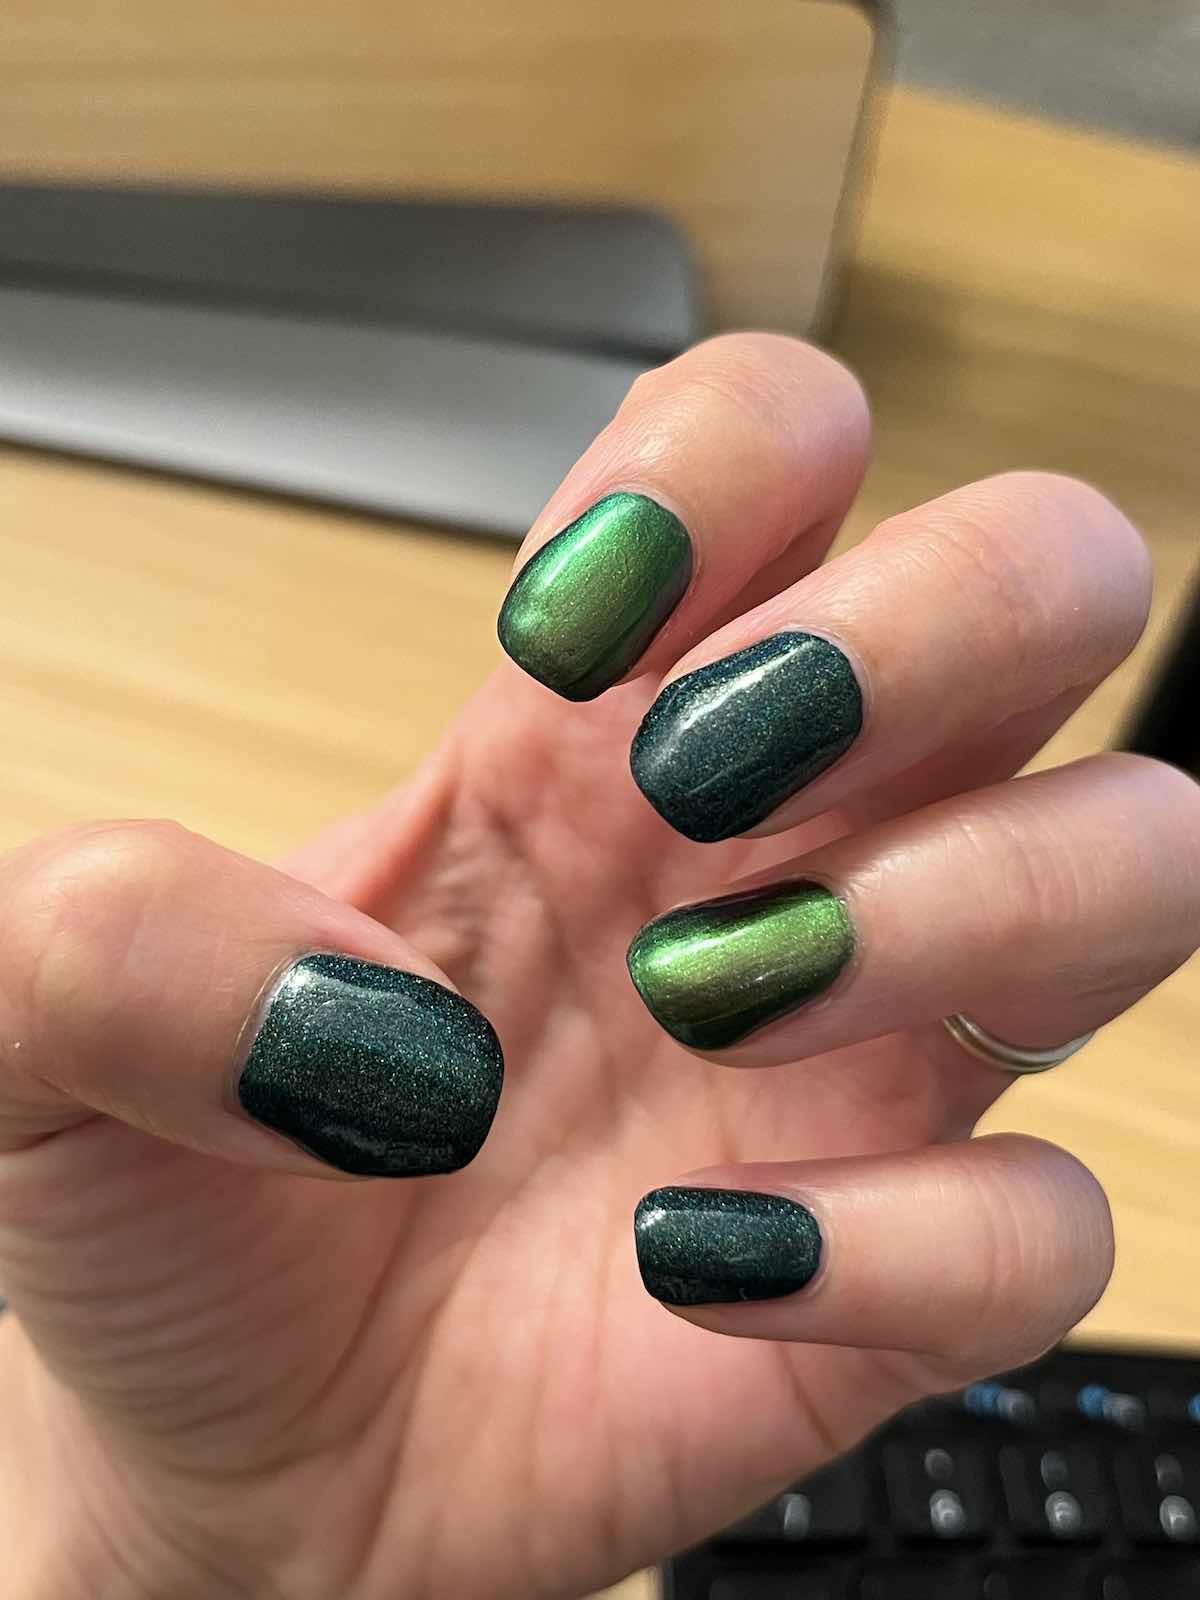
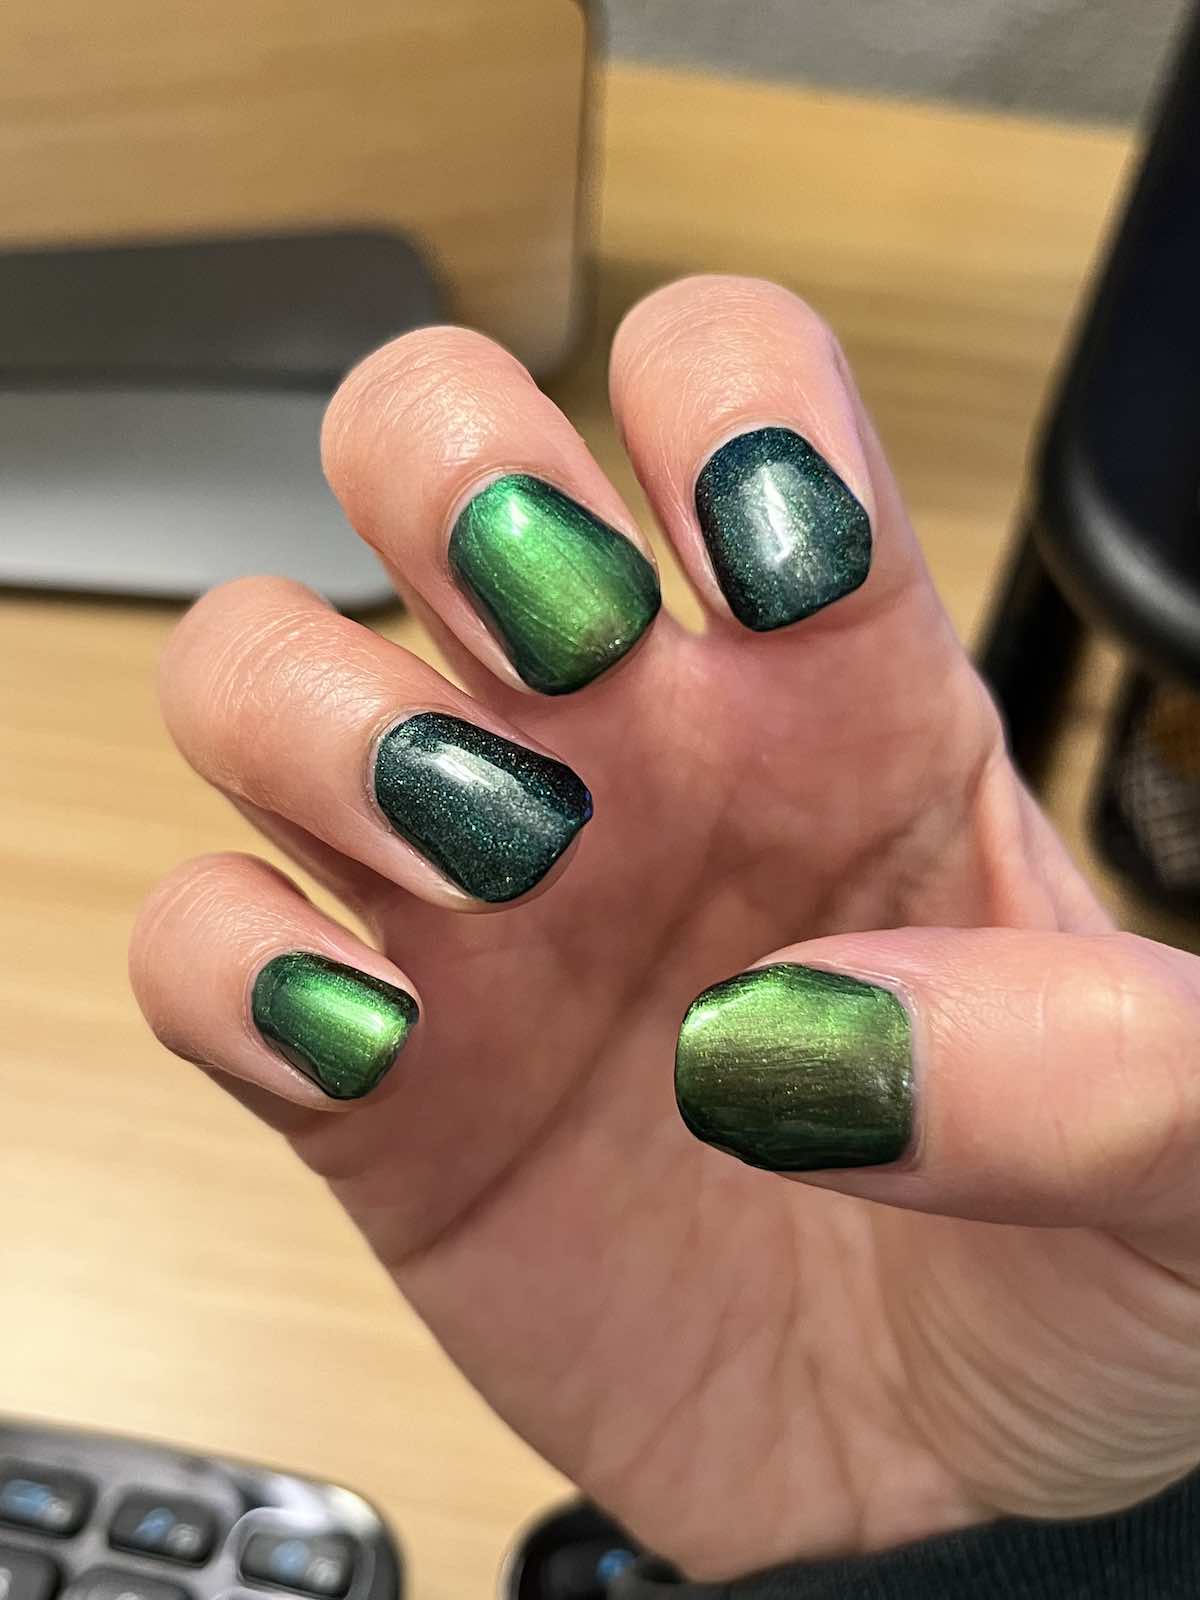
Not too shabby, eh? Here are my painted nails. I’m using Chameleon Coat and Lost In The Woods. I am blown away by Chameleon Coat and I think it really carries Lost In The Woods. I don’t have the nicest nail shape so I love how the multi-chrome polish makes my nails look, whereas I feel like the linear holo polishes are thinner and therefore shows flaws more obviously and look flatter.
The two together make a great combo though, in my opinion. I can’t get over how stunning Chameleon Coat looks… the shift from forest green to emerald green to gunmetal to flashes of copper and gold and even hints of eggplant purple in some lighting. It’s stunning. Everything the Dark Rainbow Collection wishes it was but isn’t. Sorry, I said it.
The linear holo polish, on the other hand? Kinda just looks like dirty specks unless it’s in direct light. Sadge.
Final Thoughts
Alrighty, this is not another post to bash Holo Taco’s Dark Rainbow collection. I’m here to talk about Bliss Kiss’ nail oil! So, was I impressed with it? I think so. I think if I’d had the patience to continue hydrating for longer it might have helped more, but I also think the nail on my left thumb was starting to split badly, and it needed a layer of protection while it grows out.
Here’s a side by side before/after:
It definitely looks to have helped with my right hand, but I… don’t actually think it made the nails on my left hand any better to be honest. In fact, it looks like it may have even made it worse? Because my nails feel softer now. Either way, I wouldn’t say it’s any better than the vitamin e oil / jojoba oil blend that I’d previously been using.
I also need to say that I realised I’d been tricked by packaging, and one of the bottles of “pure vitamin e oil” that I’d purchased had sunflower oil as its main ingredient, with a bunch of other oils and then vitamin e somewhere towards the end of the ingredients list. Ugh.
That was frustrating. Thankfully I realised fairly quickly and barely used it, but it does go to show that I need to be more careful to read the ingredients list before purchasing next time. I also stupidly missed the returns window so now I’m stuck with it. I guess I can use it on my toes? Lol.
I have a proper bottle of pure vitamin e oil now, so I’ll probably go back to the homemade blend once all my Bliss Kiss pens run out. Economically, it doesn’t make sense to purchase more Bliss Kiss pens when I haven’t noticed them performing significantly better than my original nail oil.
They did rehydrate my nails, don’t get me wrong, but I feel like it wasn’t significantly better hydrated than when I was using the jojoba oil. My nails started to get a lot more dry probably because I just wasn’t using oil much and was also majorly drying my nails with tons of acetone.
Would I recommend it? Hm… my right hand would say yes, my left hand probably not haha.
Update 25 Sept 2022:
It didn’t take long for me to finish my first tube of nail oil, but to my disappointment, it’s actually not possible to finish an entire tube of the oil because the pushing mechanism stops working with a good chunk of the oil still remaining inside:
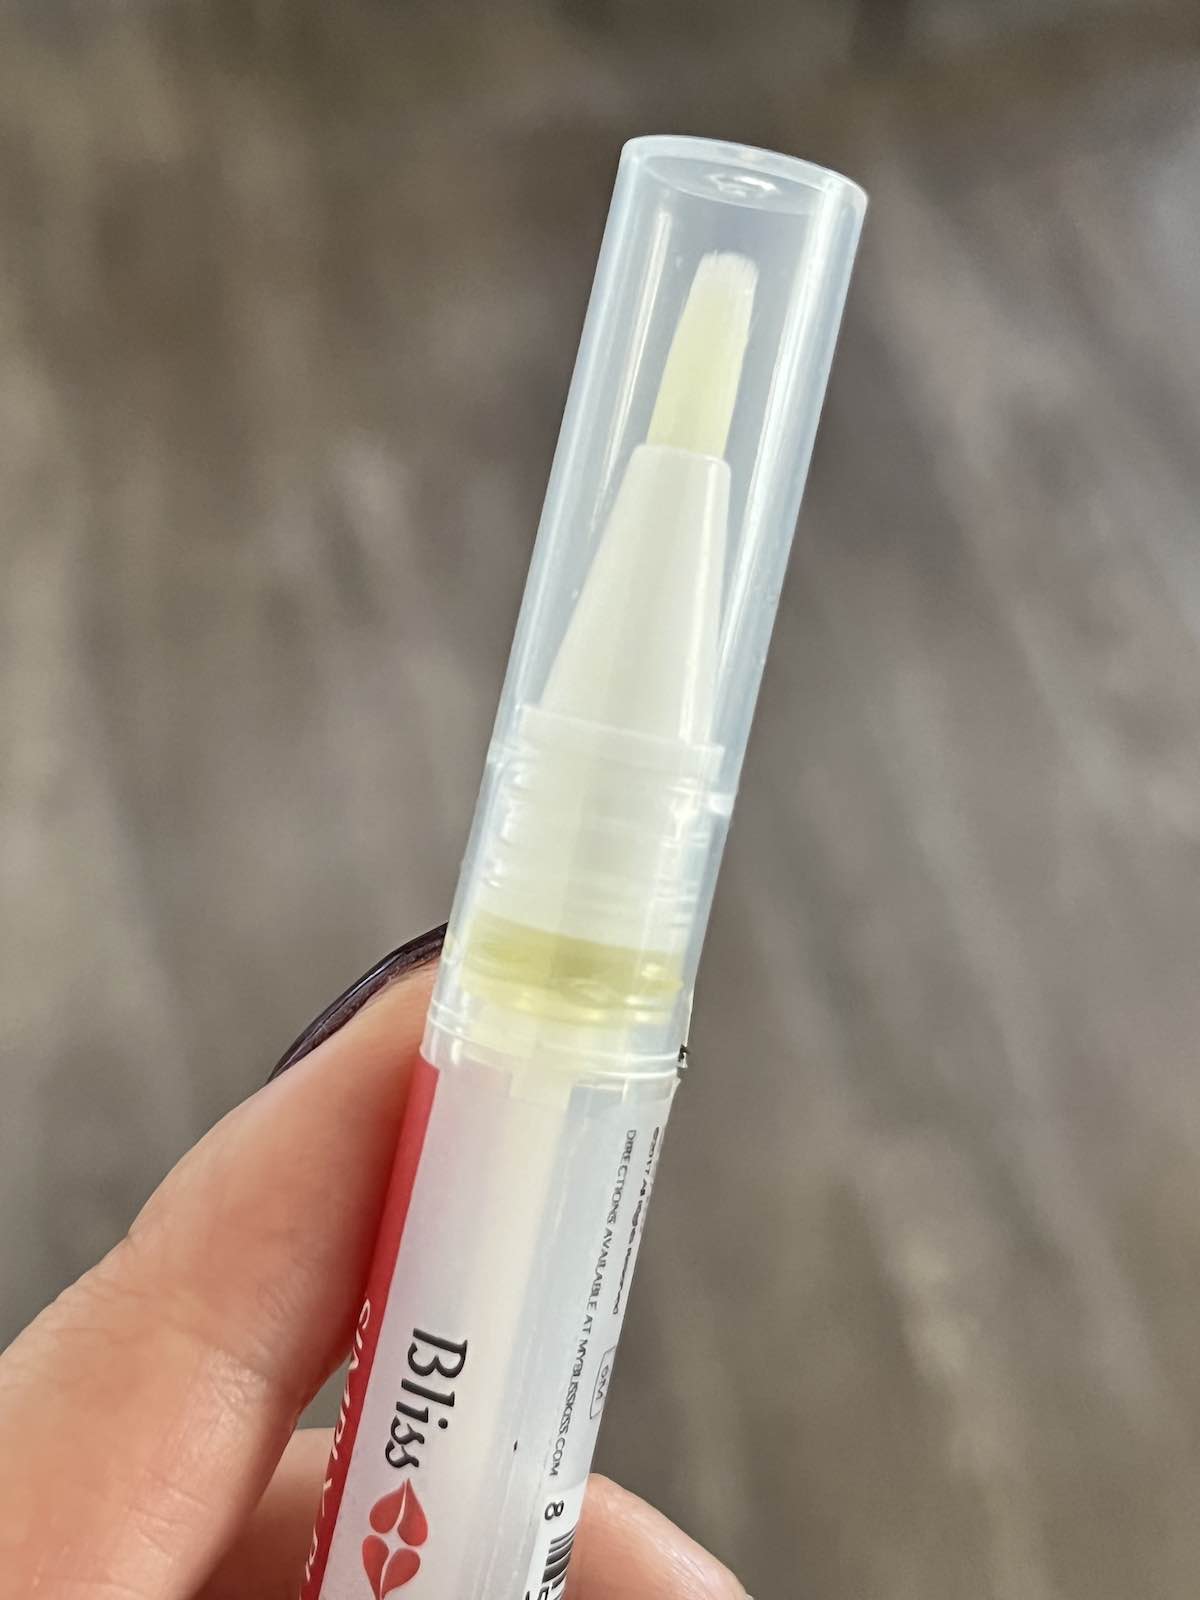
Of course this is disappointing as it makes the nail oil even more expensive: it comes with an air bubble at the top, meaning it’s already not filled entirely, and now to be unable to access the bottom of the oil as well feels like a big disappointment. I don’t think I’ll be buying these again to be honest.
Muchos love,